A useful funeral home safety checklist is more than a list on a clipboard. It is a repeatable way to notice changing conditions, assign follow-up, and help staff work safely across public, preparation, transport, and storage areas. Use the checks below as a starting point, then adapt them to your building, equipment, written procedures, and applicable requirements.
Contact Vischer to discuss equipment needs
What should a funeral home safety checklist cover?
Build the checklist around hazards and activities rather than trying to make one long list serve every room and shift. A front-of-house walk-through, a preparation-area check, and a removal-vehicle check involve different conditions. Staff should know which checks apply to their roles and how to report a problem that cannot be corrected immediately.
At minimum, plan checks for:
- Clear access and exit routes, including corridors used to move equipment.
- Housekeeping, spills, lighting, and visible damage.
- Condition and readiness of equipment used for lifting, moving, or positioning.
- Availability and condition of task-appropriate protective supplies.
- Safe storage and access controls for chemicals, sharps, and other hazardous items.
- Emergency communication, first-aid arrangements, and incident reporting.
- Follow-up: who owns each correction, and when it will be verified.
These are operational prompts, not a determination that a facility meets every legal or building requirement. Check applicable rules, product instructions, and your own written procedures. The National Funeral Directors Association provides OSHA compliance resources for funeral homes; use authoritative guidance and qualified safety advice for regulatory questions.
Make each checklist item observable. “Area is safe” is too broad to guide a consistent inspection. “Keep the path from the preparation room to the loading area clear of carts and supplies” tells a staff member where to look and what condition to report. If a check depends on a particular procedure or technical standard, point staff to that procedure instead of trying to summarize it on a general form.
How can staff do a useful daily walk-through?
Choose a consistent time, such as before the first scheduled service or at the start of each shift. A named person should walk the areas they are responsible for, record exceptions, and tell the appropriate supervisor about hazards that need attention. A checklist works best when people can mark “not applicable” and explain why, rather than checking a box without looking.
- Start with entrances and routes. Look for wet or cluttered floors, unsecured mats, blocked doors, items projecting into walkways, and poor visibility. Confirm that exit routes are not being used for storage. Keep routes clear enough for both ordinary movement and the equipment your team may need to move.
- Look for changes. Check for leaks, damaged flooring, loose handles, exposed cords, unusual odors, and equipment left in an unexpected place. A condition that was safe yesterday may have changed overnight.
- Check work areas before use. Make sure task surfaces are stable and clean according to facility procedure, required supplies are available, and equipment is not visibly damaged. Follow product directions and established cleaning or disinfection procedures.
- Record and assign. Write down the location, hazard, immediate control, responsible owner, and due date. If there is an imminent risk, stop the affected work and follow the facility’s escalation procedure rather than waiting for the next checklist review.
- Close the loop. Recheck reported problems and document completion. Repeated issues may point to a storage, maintenance, training, or workflow problem rather than an isolated oversight.
Use a simple priority convention if your facility does not already have one. For example, a blocked route or a visibly damaged item needed for an imminent task calls for immediate escalation under site procedures. A loose cabinet handle in a low-traffic storage area may be assigned for repair with a due date. The labels matter less than a shared understanding of what needs action now, what can be scheduled, and who decides.
Suppose the walk-through finds a wet patch near a service-room entrance. A useful note identifies the exact location, whether the area was isolated or cleaned under procedure, who was notified, and whether the source was resolved. “Floor problem” is not enough: the next shift needs to know whether it can safely use the route or must maintain a temporary control.

Which safety checks belong in each work area?
A simple area-based table helps teams see what to look for without turning a general checklist into a substitute for detailed procedures. Use the site’s own hazard assessments and instructions to decide how often a check is needed and who is qualified to perform it.
| Area or activity | Check before work | Response when something is wrong |
|---|---|---|
| Public areas and service rooms | Clear walking routes, stable furnishings, adequate lighting, and orderly access to exits. | Keep visitors away from the hazard; correct or report it promptly under site procedure. |
| Preparation work areas | Work surfaces, tools, supplies, ventilation or other controls specified by facility procedures, and secure chemical storage. | Pause affected work when a control or required supply is missing; notify the designated supervisor. |
| Moving and lifting tasks | Route, load, staff coordination, equipment condition, and restraints or accessories required by the product instructions. | Do not use visibly damaged or unsuitable equipment; use the facility’s safe-work and escalation procedures. |
| Storage and utility spaces | Stable, orderly storage; unobstructed access; visible leaks, damage, or electrical concerns. | Restrict access where needed and have the issue assessed by the appropriate person. |
| Vehicles and first-call activity | Vehicle readiness, clear loading area, communication plan, and transport equipment condition. | Report defects and follow established procedures for backup equipment or alternate arrangements. |
Consider the flow between areas, not only the rooms themselves. A corridor may be clear during a quiet morning check but become congested when equipment, supplies, or visitors are moving at the same time. Walk the route used for a typical task and note doorways, turns, thresholds, and places where temporary storage tends to collect. Ask the people who use the route where delays or awkward maneuvers occur; they can often identify a recurring issue that a brief visual inspection misses.
How should teams check moving and handling equipment?
Moving tasks can combine awkward loads, tight turns, uneven thresholds, time pressure, and coordination between staff. Before a move, consider the route and destination as well as the equipment. Confirm that the intended path is clear, the team understands who is guiding the move, and the equipment is appropriate for the task and within its stated limits.
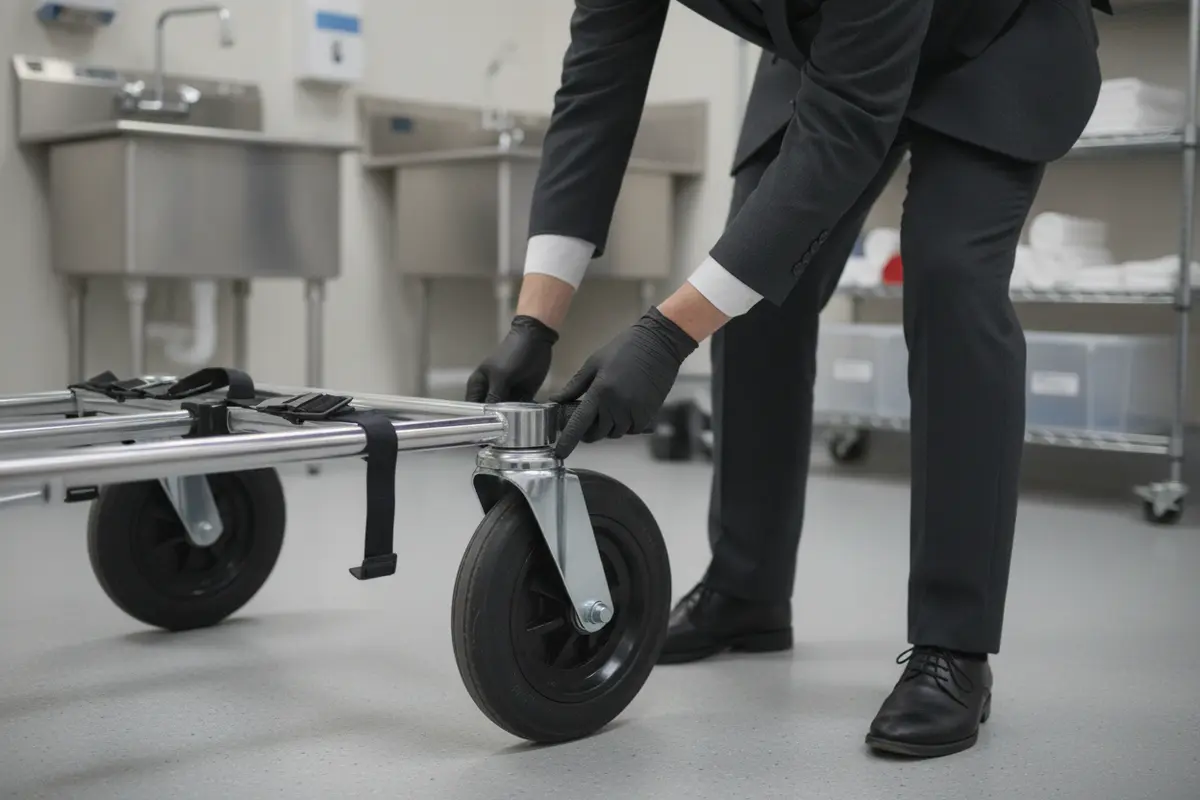
Before use, look for visible damage, unusual movement, loose or missing parts, and wheels or mechanisms that do not operate as expected. Check restraints and accessories specified for that equipment, and use the manufacturer’s directions. Do not improvise repairs or bypass a defect. Remove questionable equipment from service under your procedure and arrange assessment by a qualified person.
A short pre-use pause helps make the inspection practical. Confirm who is directing the move and who has a clear view of the route. Check that the destination is ready before starting, rather than discovering a blocked doorway while moving a load. If the planned route changes, stop and reassess instead of continuing through an unfamiliar or crowded path. Staff should know how to communicate a stop signal and should not assume that another person has seen a hazard.
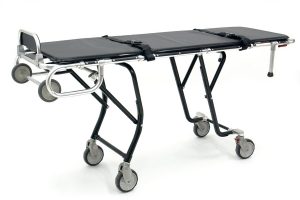
Facilities can review transport options such as a flexible stretcher or a casket table in the context of their actual tasks, space, and handling practices. Product availability and specifications should be confirmed before purchase. A product page does not replace staff training or a task-specific risk review. For checks specific to a particular device, follow its instructions rather than treating this general walk-through as a maintenance schedule.
When an item is removed from use, make the status visible to other shifts so it is not returned to service by mistake. Follow the facility’s process for separating it from ready-to-use equipment, reporting it, and arranging an assessment. The checklist entry should record the equipment or location, the observed concern, and who is responsible for the next step. Do not make a technical judgment beyond the employee’s training.
What should staff review around protective supplies and hazards?
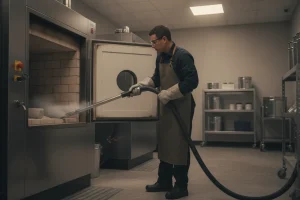
First identify the tasks performed in each space and the controls set out in your procedures. Staff should be able to locate the protective equipment and supplies required for their work, recognize when an item is damaged or unsuitable, and know how to report a shortage. Do not assume one glove type or other protective item fits every hazard or task; selection should follow the applicable assessment, instructions, and facility policy.
For example, the facility can check stock and condition of blue nitrile exam gloves and keep suitable disposal equipment accessible where sharps are used. Review the container’s instructions and your established handling and disposal procedures; do not overfill a container or handle sharps outside the facility’s approved process. Vischer’s catalog also includes sharps containers, but choosing a supply is only one part of hazard control.
Include storage and replenishment in the check. A supply may be present but difficult to reach, stored in the wrong place, or past the point when it can be used under the facility’s policy. Make it clear who reports low stock and how the responsible person confirms replacement. Where a task requires a specific item, a checklist should prompt staff to verify it before beginning rather than discover its absence mid-task.
Where chemical hazards are present, keep containers labeled and stored as required by applicable rules and manufacturer instructions. Make sure staff can access the relevant safety information and know whom to contact about a spill or exposure. Avoid relying on a generic checklist to establish chemical controls. Review the facility’s written program and current authoritative requirements with a qualified safety professional when needed.
Housekeeping checks can reinforce those controls without attempting to replace them. Note whether work surfaces and floors are in the condition required by the site’s cleaning procedures, whether waste is handled through the approved route, and whether supplies are returned to their assigned storage locations. If a worker finds an unknown substance, an unmarked container, or a spill outside their training, they should follow the facility’s response plan and report it rather than guessing how to clean it.
How can the checklist support emergency readiness?
A daily check should help people find the resources and communication paths they may need—not just identify physical defects. Confirm that employees know how to summon help, report an injury or exposure, and respond to an urgent facility condition under the organization’s emergency plan. Check that emergency routes and designated equipment are not blocked, and that contact information and responsibilities are current.
- Include a clear way to report a hazard or near miss, including after hours if relevant to the operation.
- Identify who can stop work, isolate an area, or arrange repair under local procedures.
- Keep incident and corrective-action records in the appropriate system, with access limited as required.
- Review recurring issues with staff and adjust layout, procedures, or training where warranted.
- Revisit the checklist after a move, renovation, equipment change, incident, or change in work practice.
A useful record is factual and concise: date, location, observation, immediate action, assigned owner, and closure date. Avoid recording unnecessary sensitive details on a general walk-through sheet. Follow organizational policy for incident, personnel, and privacy records.
Check that staff can find the relevant emergency instructions without relying on one person’s memory. If responsibilities differ by shift, make the handoff clear: who receives an urgent report, who can secure an affected area, and how a pending issue is communicated to the next person. A checklist cannot replace drills or an emergency plan, but it can reveal when a contact list, route, or responsibility is unclear.
How can a funeral home make the checklist practical?
Keep the form short enough for staff to complete carefully. Separate routine observation from specialized inspections that need a trained or qualified person. Use plain language, room names that staff recognize, and a clear way to report a problem even when the form has no matching checkbox.
Consider a three-part rhythm:
- Daily observation: visible conditions, clear routes, readiness for planned work, and obvious equipment concerns.
- Scheduled review: deeper checks based on manufacturer directions, facility procedures, and applicable requirements.
- Event-driven review: reassess after a reported hazard, incident, repair, renovation, new equipment, or workflow change.
Do not use a ticked box as evidence that an item was inspected if it was not. Supervisors can periodically observe the walk-through, ask staff where they would report a hazard, and review whether assigned fixes were completed. That keeps the checklist connected to behavior and follow-through.
Design the form around the handoff from observation to correction. Useful fields can include the area, item checked, finding, interim measure, person notified, action owner, due date, and closure verification. A short free-text field is valuable because a fixed list cannot anticipate every condition. If the form is digital, make sure employees can report an urgent issue immediately rather than assuming that submitting the form alone will alert the right person.
Review completion patterns, not just the number of completed forms. If the same item is repeatedly marked “not applicable,” check whether the wording is unclear or the inspection assignment is wrong. If a recurring hazard is closed and then appears again, look for its cause: a storage location may be inconvenient, a supply may not be replenished, or a route may not fit the actual workflow. Use the finding to improve the system, not to encourage staff to stop reporting it.
How should a facility tailor the checklist to its own risks?
Begin with the tasks your staff actually perform and the areas where those tasks happen. A small facility may have one employee covering several zones, while a larger operation may assign different checks to separate teams. In either case, identify the person accountable for the check, the person who receives urgent reports, and the person authorized to arrange a repair or remove equipment from service.
Walk the route with employees who use it. They can point out recurring pinch points, storage problems, awkward transfers, or periods when a hallway becomes crowded. Record practical details that help someone act: the room, equipment identifier if used, what was observed, and whether work was paused. Avoid vague notes such as “fix safety” that leave the next person guessing.
Separate hazards by urgency. An immediate threat to a person or an uncontrolled condition should be escalated at once under the facility’s procedures. Other findings can be assigned a responsible owner and due date, but should not disappear into a general maintenance queue without follow-up. If a repair is pending, note any temporary controls and who will verify they remain in place.
Finally, review the checklist itself periodically. Remove items that no longer apply, add checks after workflow changes, and clarify confusing wording. Ask staff whether the process fits the pace of the work and whether they can report a condition that is not listed. A checklist that reflects real work is more likely to be completed carefully than a copied form that no one recognizes as their own.
For example, after rearranging a preparation area, do not simply carry the old checklist forward unchanged. Walk through the revised route with the employees who use it, identify whether storage now affects access to work areas, and confirm that supplies and emergency instructions remain reachable under the new layout. If equipment changes, review relevant instructions and training needs before updating the inspection prompts. Keep the review focused on the change, then revisit the broader checklist at the facility’s normal review interval.
What changes should trigger a safety review?
A calendar-based review is useful, but it will not catch every meaningful change. Treat a new hazard report, a near miss, a repair, or a change in how work is assigned as a reason to consider whether the checklist still matches conditions. The goal is not to add a new checkbox for every unusual event. It is to decide whether the event exposed a gap in the route, equipment, communication, storage, or training process.
After an incident or near miss, preserve the relevant information according to facility policy and discuss the practical sequence of events with the appropriate people. What task was underway? Was the expected control available and understood? Did the work area or route differ from the usual setup? These questions can help identify a useful change without blaming an employee for reporting a concern. Assign any resulting action and verify that it was completed.
Renovations and equipment changes deserve a similar review before the revised workflow becomes routine. Check whether staff can move through the space as intended, whether stored items obstruct access, whether instructions are available, and whether people know how to report a problem with the new setup. Document who reviewed the change and where staff can find updated procedures.
Frequently Asked Questions
Who should complete a funeral home safety checklist?
Assign it to a trained employee familiar with the area being checked, and make responsibilities clear for each shift or work zone. Some inspections or technical assessments may require a qualified person under facility procedures or applicable rules.
How often should a funeral home complete the checklist?
Use daily checks for conditions that can change between shifts, and schedule more detailed reviews at intervals appropriate to the hazards, equipment instructions, and applicable requirements. Recheck after changes or incidents rather than relying only on a calendar.
Does a general checklist prove OSHA compliance?
No. A general checklist is a planning aid, not a compliance determination. Facilities should review current requirements, their written programs, and authoritative guidance, including the relevant NFDA OSHA resource page, and consult qualified safety professionals for facility-specific questions.
What should staff do when they find an unsafe condition?
Follow the site’s reporting and escalation procedure. If there is an immediate risk, stop or isolate the affected work area when appropriate, notify the designated person, and do not return equipment to use until it has been assessed and cleared under the facility’s process.
Ask Vischer about funeral home equipment
A checklist is most valuable when staff use it consistently, speak up about hazards, and see reported problems through to a documented resolution.