
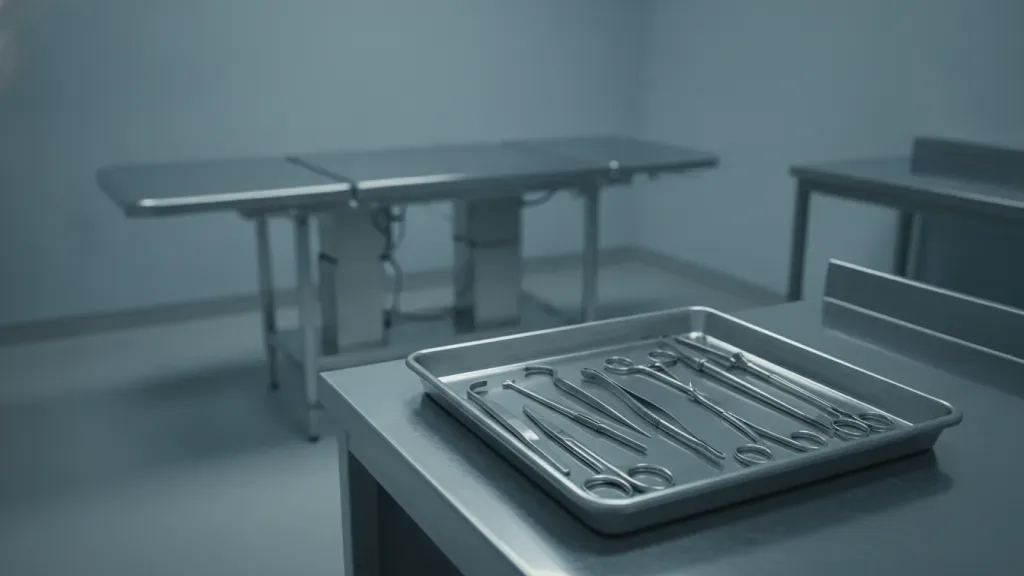
Reliable embalming tools help a preparation-room team move through each case with control, consistency, and respect. The best inventory is not necessarily the largest one. It is the set of instruments and accessories that matches the work your staff performs, can be identified quickly, and can be cleaned, stored, and replaced without disrupting the room.
This guide focuses on the hand instruments and prep-room accessories that support routine preparation. It does not replace licensed training, facility protocols, product instructions, or applicable occupational-safety requirements. Use it to review your current inventory, identify gaps, and build a buying list that supports both daily workflow and long-term equipment care.
Contact Vischer Funeral Supplies for help planning your embalming tools inventory.
What are the essential embalming tools for a preparation room?
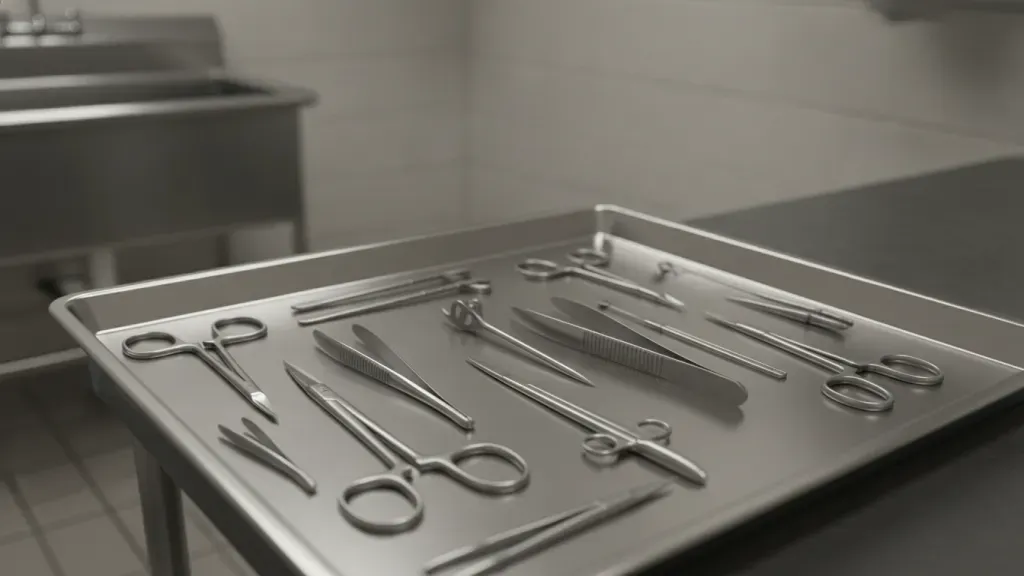
Essential embalming tools are the hand instruments and accessories used to support access, injection, drainage, closure, dressing, and instrument organization. A practical starter inventory usually includes forceps, scissors, clamps, scalpels and handles, needles and suture supplies, drainage accessories, a trocar-related storage or sanitation accessory, and a clean instrument tray.
Exact instrument needs vary with the services a funeral home provides, the experience of its staff, and the equipment already installed in the room. Start with a task inventory rather than a generic kit. Ask which tools are used on nearly every case, which are reserved for specific situations, and which items are frequently borrowed from another room or replaced because they are difficult to clean.
Core instrument groups
- Grasping and handling instruments: Dressing forceps and related forceps help staff handle materials with control during dressing, closure, and restorative preparation.
- Cutting instruments: Scissors and a compatible scalpel handle support tasks that call for a controlled cutting edge. Keep replacement blades and safe disposal supplies within the facility’s established process.
- Clamping instruments: Hemostats and clamps can help secure tubing, materials, or other components when the task calls for a temporary hold.
- Needles and suture supplies: Keep the needle and suture assortment aligned with the procedures your licensed staff perform. Store sharp items so they are protected, countable, and easy to retrieve.
- Probes, hooks, and specialized instruments: These tools support specific preparation tasks and should be selected from actual staff needs rather than added simply because they appear in a catalog.
- Drainage and aspiration accessories: Drain tubes, tubing, and related accessories should match the equipment and workflow already used in the room. They should not be treated as interchangeable without checking fit and instructions.
Vischer’s preparation equipment and supplies category is a useful starting point for reviewing equipment, instruments, and accessories. Product-led options include the 12-inch Dressing Forcep, Stainless Steel Scalpel Handle with Comfort Grip, and other prep-room supplies. Confirm that any tool is appropriate for your intended use before ordering.
Which tools belong in a basic embalming instrument set?
A basic embalming instrument set should cover the recurring tasks your team performs and include a way to stage, protect, and account for the instruments. A useful set often combines forceps, scissors, clamps, a scalpel handle, needles and suture supplies, probes or hooks used by the team, drainage accessories, and a stainless instrument tray.
A kit is valuable when it reduces searching and standardizes restocking. It is less useful when it contains unfamiliar instruments that sit unused or when sharp items are mixed loosely with routine tools. Build the set around a repeatable checklist and revise it after staff identify a recurring omission.
Starter inventory checklist
- List recurring tasks: Separate routine preparation, dressing and closure, restorative support, and cleanup-related tasks.
- Match instruments to tasks: Note the tool type, preferred length or shape, quantity, and whether a backup is needed.
- Add support items: Include trays, holders, storage containers, labels, replacement blades, suture supplies, and other accessories that keep the main tools usable.
- Separate clean and used workflows: Provide a defined place for clean instruments and a designated route for items awaiting cleaning or disposal.
- Set a restocking trigger: Decide when staff reorder consumables or replace damaged tools, instead of waiting until a case exposes a shortage.
For facilities that need to improve organization without replacing every instrument, a staged approach can work well. First correct the gaps that interrupt routine work. Next replace tools that are difficult to inspect, uncomfortable to use, or unreliable. Finally, add specialty instruments only when the service mix and staff training justify them.
How should a funeral home organize embalming tools by workflow?
Organize embalming tools by the work sequence and frequency of use, while keeping clean, used, sharp, and disposable items visibly separated. The arrangement should reduce unnecessary reaching and movement, protect instruments from damage, and make it easy for staff to see what must be cleaned, replaced, or restocked.
Organization is a workflow decision, not just a storage decision. The room layout itself is covered in Vischer’s embalming station and prep room layout guide. Once the station and utilities are positioned, use the instrument arrangement to support the work performed at that station.
Use zones instead of one crowded tray
- Frequently used zone: Stage the forceps, scissors, clamps, and other tools staff reach for most often in a consistent location.
- Specialty zone: Store less frequently used probes, hooks, and specialty instruments together, but do not mix them into the daily set if doing so makes counts difficult.
- Sharp-item zone: Keep scalpel blades, needles, and other sharps protected and managed under the facility’s written sharps procedure.
- Clean-storage zone: Use a clean, dry, protected area for instruments after processing and before the next use.
- Used-instrument zone: Define a container or staging point for instruments that need cleaning so used items do not return to clean storage by mistake.
Instrument trays can also support a count-and-reset routine. A tray should be large enough to avoid crowding, stable on the work surface, and straightforward to inspect. A Stainless Steel Sanitray may be relevant for teams that want a durable way to stage instruments, but the correct size and configuration depend on the facility’s workflow.
Do not store instruments in a way that forces staff to reach across a work area, place a clean tool on an unclean surface, or carry an exposed sharp through the room. These are practical workflow risks that a consistent staging plan can reduce.
Ask Vischer to help compare prep-room instruments, trays, and related supplies for your facility.
Embalming tools comparison: what is each group best for?
The best embalming tool depends on the task, the material being handled, the required level of control, and the way the instrument will be cleaned and stored. Comparing tools by function helps a team avoid buying duplicates while still maintaining the right options for routine and specialized work.
| Tool group | Primary role | Selection considerations | Common inventory mistake |
|---|---|---|---|
| Forceps | Controlled grasping and handling | Length, tip design, grip comfort, and task fit | Buying one length for every task without staff input |
| Scissors | Controlled cutting of approved materials | Blade design, hand comfort, durability, and safe storage | Allowing dull or damaged scissors to remain in the daily set |
| Clamps and hemostats | Temporary holding or securing | Jaw pattern, locking action, size, and ease of inspection | Mixing sizes without a clear storage location |
| Scalpel handle and blades | Controlled use of a replaceable sharp edge | Handle comfort, blade compatibility, sharps control, and disposal | Storing loose blades or omitting replacement and disposal supplies |
| Needles and suture supplies | Closure and task-specific soft-material work | Staff use, size range, secure storage, and countability | Keeping specialty sizes without a reorder or count system |
| Probes, hooks, and specialty tools | Specific preparation tasks | Actual service mix, training, instrument care, and frequency of use | Adding tools because they are available rather than needed |
| Trays and holders | Staging, separation, and organization | Material, cleanability, stability, capacity, and workflow location | Using an overcrowded tray that makes inspection and counts harder |
The table is a planning aid, not a substitute for the instrument instructions or the judgment of the professionals using the tools. If your team performs specialized work, ask the users to identify the exact instrument characteristics that matter before placing a bulk order.
How do sanitation and material choices affect prep-room tools?
Sanitation-ready embalming tools should have surfaces and construction that staff can inspect, clean, and process according to the manufacturer’s instructions and the facility’s written protocol. Material choice matters, but a durable material cannot compensate for poor separation of clean and used items, incomplete processing, or unclear accountability.
Stainless steel is commonly selected for professional instruments and trays because it offers a smooth, durable surface that is practical to inspect and maintain. The specific grade, finish, joints, and handle design still matter. Before buying, ask whether the tool’s construction is compatible with the cleaning, disinfection, or sterilization method your facility uses. Do not assume every instrument can be treated the same way.
Cleaning and disinfection are related but distinct steps in a facility’s safety program. Vischer’s OSHA compliance guide for funeral home disinfectants covers product selection and preparation-room procedures in greater detail. This guide focuses on making instruments easier to manage within that process.
Questions to ask about tool care
- Can staff identify whether the instrument is clean, used, damaged, or awaiting processing?
- Does the tool have crevices, hinges, or joints that require special attention?
- Are instruments opened or positioned as required by the manufacturer’s processing instructions?
- Is the tray or holder itself included in the cleaning and inspection routine?
- Are damaged, corroded, dull, or malfunctioning instruments removed from service promptly?
- Can staff document or verify the facility’s required processing steps?
OSHA’s Bloodborne Pathogens standard addresses occupational exposure to blood and other potentially infectious materials, including decontamination and contaminated sharps. A tool purchasing decision should therefore be connected to the facility’s Exposure Control Plan and training, not handled as a catalog choice in isolation.
What PPE should staff consider when using embalming tools?
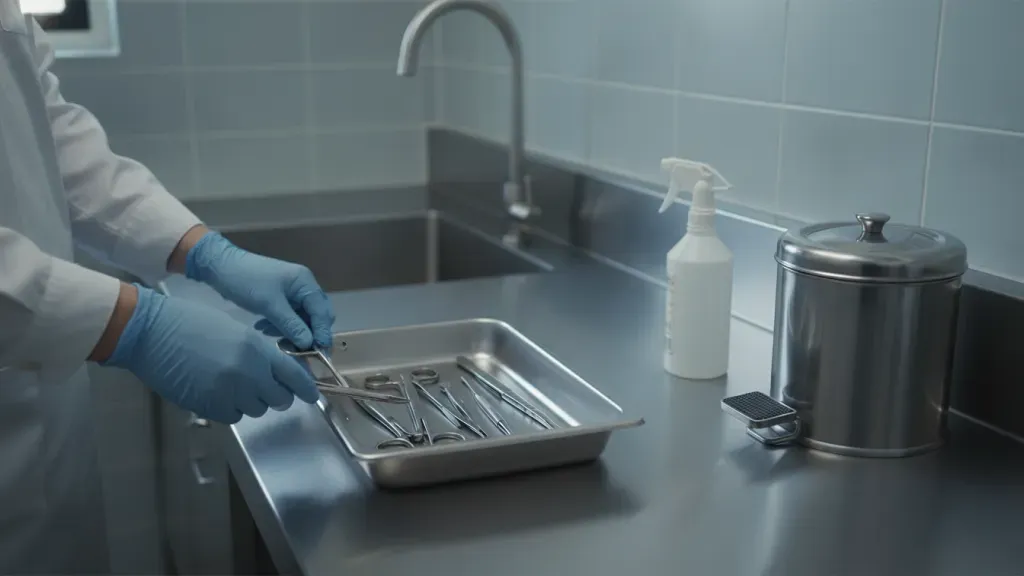
PPE selection should be based on the task, anticipated exposure, chemical hazards, sharps risk, and the facility’s written safety program. Gloves, eye and face protection, protective clothing, and other PPE should be selected and used according to training, the applicable safety requirements, and the product or chemical instructions.
Embalming tools do not determine PPE by themselves. The surrounding task does. A staff member handling a clean instrument for staging may face a different exposure profile from someone working with blood or other potentially infectious materials, chemicals, splash hazards, or a sharp. The team should evaluate the whole task before deciding what protection is required.
- Hand protection: Choose gloves that are appropriate for the anticipated exposure and compatible with the work. Change them according to the facility’s protocol and whenever their protective integrity is compromised.
- Eye and face protection: Use protection when splash or spray hazards are reasonably anticipated. Eye protection should not be treated as a substitute for safe instrument handling.
- Protective clothing: Select gowns, aprons, coveralls, or other clothing based on the task and contamination risk. Vischer’s Tyvek suit selection guide provides a separate discussion of disposable protective suits.
- Respiratory protection: Respiratory protection is a program decision, not an informal tool-room purchase. If required, it should be managed under the facility’s written program and fit, medical, and training requirements.
- Sharps controls: Use the facility’s approved practices for blades, needles, and other sharps. Keep disposal containers and replacement supplies available before work begins.
For a broader inventory review, see Vischer’s funeral home PPE requirements and safety equipment guide. The federal OSHA Formaldehyde standard also applies to occupational exposure to formaldehyde. Facilities should use their hazard assessment, Safety Data Sheets, exposure controls, and qualified safety guidance when evaluating chemical-related protection.
How can a funeral home choose ergonomic embalming tools?
Choose ergonomic embalming tools by observing the hand positions, reach distances, grip force, repetition, and precision demands of the actual work. A comfortable handle or appropriate instrument length can reduce unnecessary strain, but ergonomics must be evaluated with the full workstation, posture, and workflow.
Ask the people who use the instruments every day to test or review the options. A tool that looks efficient in a catalog may feel awkward when used with gloves, when the hand is wet, or when the operator must maintain a controlled grip for a prolonged task.
Practical ergonomic checks
- Grip: Can the user maintain control without excessive squeezing or awkward wrist positioning?
- Length: Does the instrument provide the needed reach without forcing the user to lean, overextend, or work too close to the body?
- Weight and balance: Does the tool feel stable during precise movements?
- Glove compatibility: Does the handle remain controllable with the gloves required for the task?
- Repetition: Will the same motion be repeated often enough that small design differences become meaningful?
- Storage: Can the tool be returned to a consistent location without awkward lifting or reaching?
Ergonomic improvements often begin with small changes, such as selecting the right forceps length, replacing a damaged handle, or moving the tray closer to the primary work zone. They should be considered alongside the table and station. Vischer’s embalming tables buyer’s guide covers table selection, while the embalming machine guide covers fluid delivery equipment. Keeping these decisions separate helps prevent a hand-instrument purchase from becoming an unfocused room redesign.
When should a funeral home replace or expand its tool inventory?
Replace or expand embalming tools when an instrument is damaged, difficult to process, uncomfortable, unreliable, or no longer suited to the facility’s work. A recurring shortage, repeated borrowing, or frequent workflow interruption can also justify a targeted inventory addition.
Use a simple review at a regular interval and after any significant change in staffing, service volume, equipment, or room workflow. The goal is to identify practical needs without allowing the inventory to grow unchecked.
- Remove compromised tools: Take corroded, bent, cracked, loose, dull, or malfunctioning instruments out of service according to the facility’s process.
- Track interruptions: Note when staff stop to search, borrow, substitute, or wait for a missing item.
- Review counts: Compare the available quantity with the number of rooms, staff, cases, and processing cycles the facility supports.
- Check compatibility: Confirm that replacement tools, blades, tubing, trays, and accessories work with the equipment and procedures already in use.
- Prioritize the buying list: Address safety, reliability, and workflow interruptions before adding low-frequency specialty tools.
Vischer can help funeral home operators compare preparation-room equipment and supplies with their existing workflow. When larger equipment decisions are also under review, keep the instrument list connected to the station plan, but do not let a table, machine, or room-layout project obscure a simple hand-tool gap.
Contact Vischer Funeral Supplies to review your next embalming tools order.
Frequently Asked Questions
These answers summarize the main buying and workflow considerations for embalming tools. Always follow licensed training, facility procedures, manufacturer instructions, and applicable safety requirements.
What are the most common embalming tools?
Common embalming tools include forceps, scissors, clamps, scalpel handles and blades, needles and suture supplies, probes or hooks, drainage accessories, and stainless instrument trays. The right inventory depends on the services a funeral home performs and the equipment already in its preparation room. Build the list around recurring tasks, then add specialty instruments only when staff training and actual workflow needs support them.
How should embalming instruments be stored?
Store embalming instruments in a clean, dry, protected location after they have been processed according to the facility’s written protocol. Separate clean instruments from used items, keep sharps protected and countable, and use a consistent tray or storage system so staff can identify missing, damaged, or unprocessed tools. The storage system should also support inspection and restocking.
What should I look for in a preparation-room instrument tray?
Look for a tray that is stable, durable, easy to inspect, compatible with the facility’s cleaning process, and large enough to stage the required tools without crowding. Consider the tray’s location, handles or edges, drainage needs, and whether it helps staff separate clean, used, sharp, and specialty instruments. Confirm material and care requirements before purchase.
How do I choose the right size forceps?
Choose forceps size and design based on the task, the reach required, the material being handled, the user’s grip, and the facility’s processing routine. Ask experienced staff to identify where a shorter, longer, straight, or curved option improves control. Avoid treating one forceps length as universal. A small, task-based range is usually easier to organize and maintain than an unplanned collection.
Are embalming tools covered by OSHA requirements?
OSHA requirements generally address the hazards associated with the work environment, including occupational exposure to blood or other potentially infectious materials, contaminated sharps, chemicals, and required controls. A tool itself is only one part of the assessment. The facility should connect purchasing decisions to its Exposure Control Plan, hazard communication procedures, PPE program, training, manufacturer instructions, and applicable federal or state requirements.