
A preparation room does more than house equipment. Its layout affects how safely staff move, how efficiently each case progresses, and how consistently the room can be cleaned and maintained. For funeral home owners planning a new space or upgrading an existing one, the best decisions begin with workflow rather than a single piece of equipment.
A professional embalming station should give staff dependable access to the table, water, drainage, instruments, and safety equipment while preserving clear working space around the body. The right combination of station type, table design, and room dimensions supports hygiene, ergonomics, and dignified care.
Start by identifying the tasks performed in the room, from intake and preparation through dressing and transfer. That practical review makes it easier to determine which components belong in the primary work area and how they should be arranged for safe, uninterrupted movement. Contact Vischer Funeral Supplies to discuss your preparation room layout before you invest.
What Makes Up a Professional Embalming Station?
A professional embalming station brings the table, water control, aspiration, instruments, and drainage into one hygienic, efficient work area. Each component should support a controlled workflow while helping staff maintain cleanliness, ergonomics, and dignity throughout preparation.
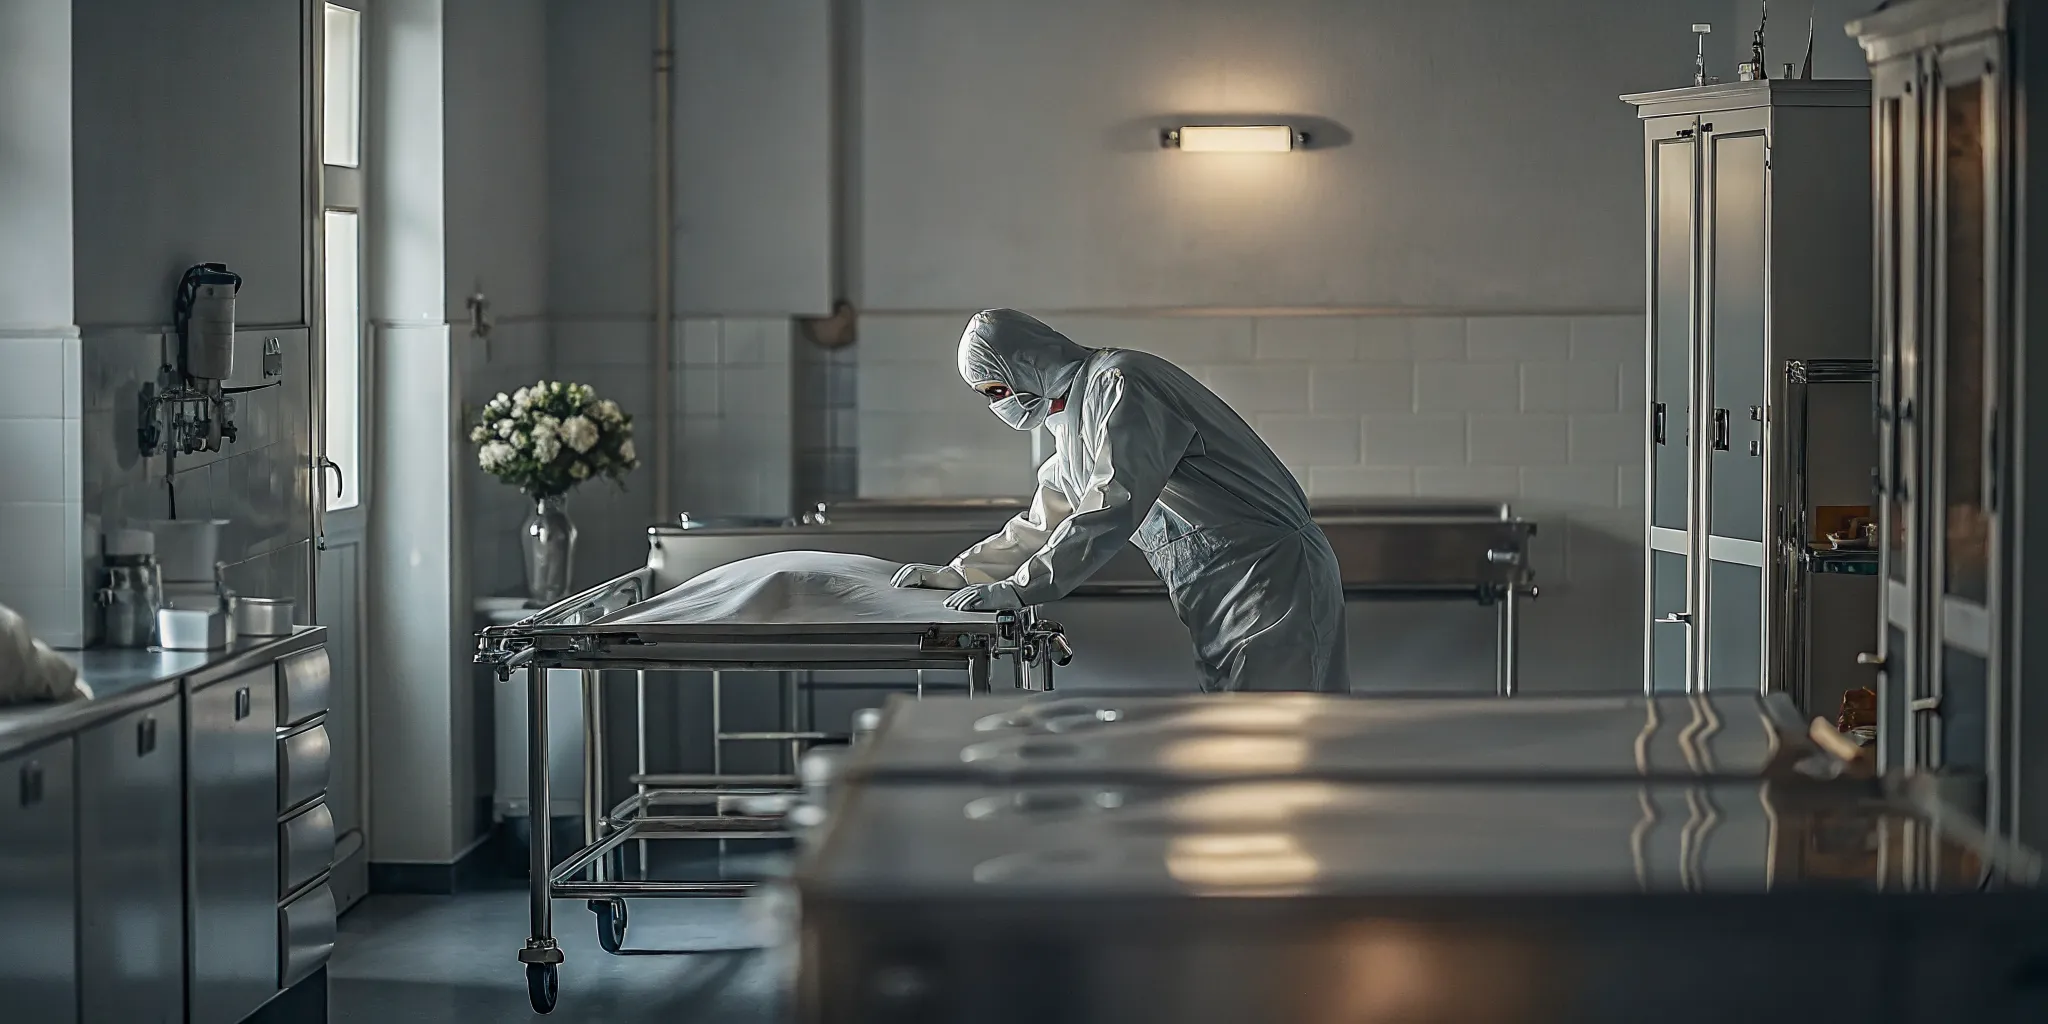
The embalming table is the central work surface. Choose a design that provides stable support, practical height, a useful working area, and dependable drainage. Table construction also affects daily cleaning. Stainless steel is widely valued in preparation environments because its smooth, nonporous surface can be thoroughly cleaned and decontaminated without the crevices common in some other materials.
Why does work surface material matter?
Work surface material is more than an appearance decision. A station should withstand repeated exposure to cleaning agents, moisture, and routine use while remaining easy to inspect and sanitize. Stainless steel supports that standard when it is properly maintained, making it a practical choice for facilities that prioritize long-term hygiene. The surrounding floor and drain design matter as well. Industry preparation-room guidance recommends routing the table drain to the facility’s sanitary sewer in accordance with local requirements rather than connecting it to a septic system without specific engineering.
A water control unit manages the supply and often places valves, spray controls, or related plumbing within easy reach. Plan for hot and cold water where required, and consider a separate utility sink for instrument cleaning and floor mopping so those tasks do not interfere with the primary work area.
An aspirator supports fluid removal during preparation. Its placement should allow staff to connect, monitor, and clean the equipment without stretching across the body or crossing the main work zone. An instrument tray keeps frequently used tools organized and accessible, reducing unnecessary movement and helping staff maintain a consistent sequence of work.
Finally, the integrated sink and drain complete the station’s sanitation and cleanup functions. Look for a configuration that supports easy rinsing, controlled runoff, and straightforward access for cleaning around the basin and plumbing. A station is only as effective as its maintenance routine, so review this embalming station equipment maintenance guidance when planning inspection and upkeep procedures.
When evaluating embalming stations, assess the complete system rather than one feature in isolation. The best fit aligns equipment placement, water and drainage, cleaning requirements, and the movements your staff make every day.
Choosing Between Embalming Tables, Combination Tables, and Dressing Tables
Answer capsule: The right table depends on whether your embalming station is designed primarily for vascular embalming, a combined preparation-and-dressing workflow, or dressing after preparation. Compare the task sequence, available clearance, drainage, and staff movement before choosing a surface.
These categories overlap, but they are not interchangeable. A dedicated embalming table is built around preparation work. While combination and dressing tables can support a broader sequence when space or staffing makes it practical to move between tasks in one area.
| Type | Primary use | Best for | Typical workflow |
|---|---|---|---|
| Dedicated embalming table | Embalming and related preparation procedures. | Facilities that prioritize a defined, repeatable preparation setup. | Receive and position, prepare, embalm, clean and disinfect, then transfer for dressing. |
| Combination table | Embalming and dressing on one adaptable surface. | Smaller rooms or teams seeking fewer transfers between stages. | Position, embalm, complete post-embalming dressing, then move to viewing or storage. |
| Dressing table | Dressing, grooming, and final presentation. | Facilities with a separate embalming area or a dedicated finishing zone. | Receive the prepared individual, dress and groom, complete quality checks, then transfer. |
When a dedicated embalming table makes sense
Choose a dedicated model when preparation volume, equipment access, and consistent ergonomics are the priorities. It gives staff a stable location for water control, instruments, drainage, and cleaning procedures. Plan for 36 inches of clearance on all four sides so staff can work without creating avoidable bottlenecks. The room should also have door clearance suitable for the facility’s cots and transport equipment. Industry planning guidance identifies 36 inches as a standard minimum, with 48 inches recommended for bariatric equipment.
When combination or dressing tables improve the workflow
A combination table can reduce transfers when the same staff member handles preparation and dressing, provided the surface, drainage, and sanitation process support both uses. A dressing table is more appropriate when dressing and presentation happen in a distinct phase or room. Review Vischer’s combination and dressing tables category alongside your room plan, then confirm that the selected table fits the intended workflow rather than simply fitting the available floor area.
Whichever category you select, keep clean and contaminated workflows distinct, verify plumbing and drainage requirements, and document how the table will be disinfected between cases. A well-matched table supports safer movement, more consistent preparation, and a dignified final presentation.
How Do You Plan a Functional Preparation Room Layout?
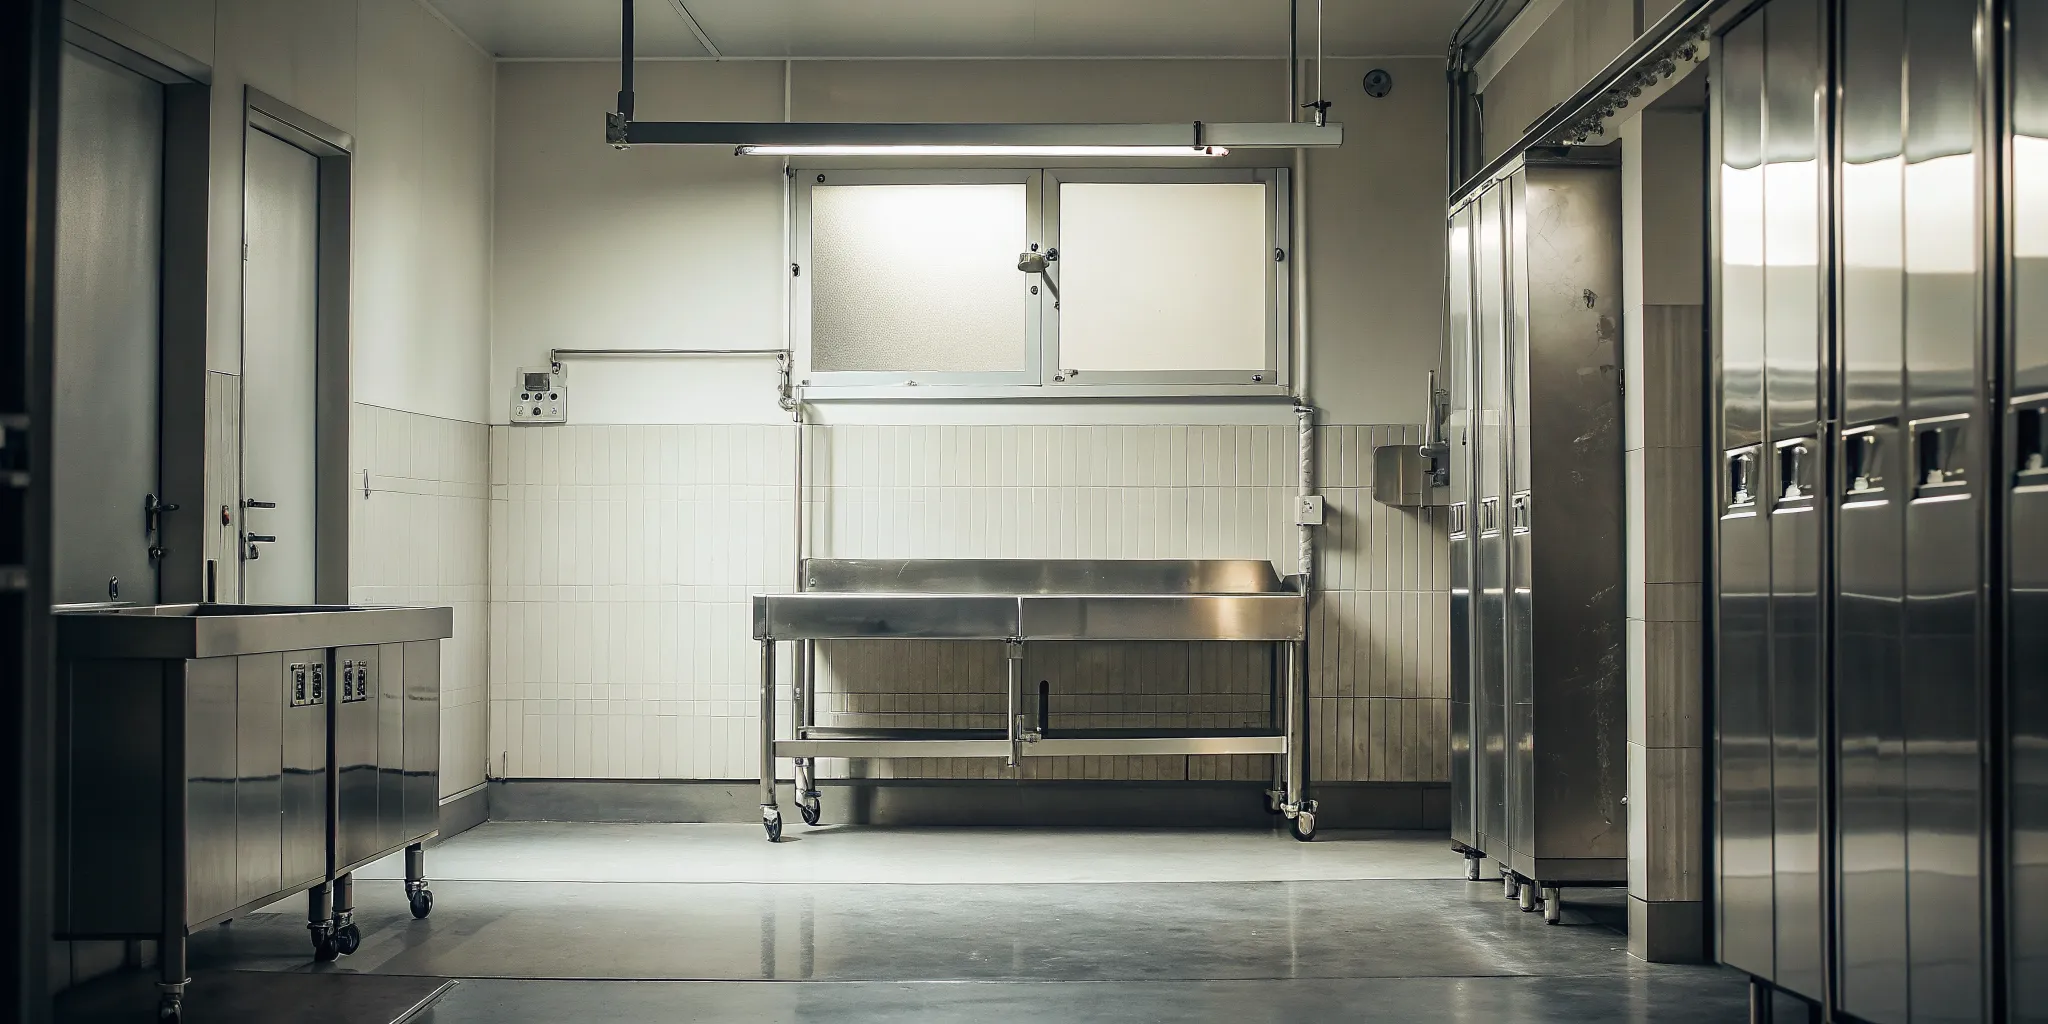
A well-planned embalming station should support a one-way workflow from intake and transfer through preparation, dressing, and temporary holding, while preserving clearances for staff, equipment, and safe movement. Treat the room as a working system rather than a collection of separate fixtures. The placement of doors, drains, utilities, storage, and cooling equipment should reduce backtracking and keep clean and used materials from crossing unnecessarily.
Begin with the room envelope and the largest items that must move through it. A single-station preparation room may be functional at 10 by 12 feet, or 120 square feet, but a 12 by 16-foot room provides more comfortable working space. Plan for 36 inches of clearance on all four sides of the embalming table. Doors should be at least 36 inches wide for standard cots, with 48 inches recommended where bariatric equipment may be used. These dimensions should be confirmed with your architect, equipment supplier, and applicable local requirements.
- Receive and transfer. Position the entry so a cot can move directly into the room without passing through the main work zone. Keep the transfer path clear of cabinets, carts, and fixed equipment. If the room serves different body transport needs, account for the widest anticipated equipment when confirming door and turning clearances.
- Move to the embalming station. Place the table where staff can work from both sides and the head and foot remain accessible. Keep water controls, sinks, instrument storage, and waste-handling points close enough to support the work without forcing staff to cross the transfer route. A dedicated drain and appropriate plumbing should be coordinated during construction.
- Continue to washing and dressing. Arrange washing and dressing surfaces next to, or within a short controlled route from, the embalming area. Combination or dressing tables can help reduce transfers, but the layout should still leave room for staff to work comfortably and clean the surfaces between cases.
- Transfer to temporary holding or the cooler. The final route should be direct and unobstructed. Locate cooler racks and body trays so staff do not need to navigate around the table or interrupt the next case. This preparation room layout and workflow guide can help coordinate holding capacity with movement through the room.
Ceiling height also affects future flexibility. Eight feet may be the minimum, while 10 feet is preferred for improved air circulation and potential overhead lifts or other ceiling-mounted equipment. Before finalizing the plan, review ventilation, drainage, electrical service, cleaning access, and emergency equipment together. A layout that works on paper should also be tested with the actual cot, table, carts, racks, and staff movements expected during a typical case.
What Safety and Ventilation Requirements Should Your Embalming Station Meet?
An embalming station should control formaldehyde exposure, move contaminated air away from staff, provide immediate access to emergency equipment, and support safe cleanup. Treat ventilation and safety features as part of the station design, not as afterthoughts added after installation.
OSHA’s formaldehyde standard requires employers to use engineering controls to keep employee exposure below 0.75 parts per million (ppm) as an eight-hour time-weighted average. It also sets a 2 ppm limit for any 15-minute short-term exposure period. Review the OSHA formaldehyde requirements with your safety professional, then confirm that the room’s ventilation design, work practices, and exposure monitoring address the actual conditions in your facility.
Ventilation and drainage essentials
General room air circulation is not a substitute for a properly designed exhaust system. Work with a qualified mechanical contractor to determine how air should be supplied, exhausted, and balanced so vapors are drawn away from the breathing zone and do not migrate into adjacent areas. The final design should account for the table, chemical storage, sinks, doors, and the number of people working in the room.
Drainage is another safety consideration. The preparation-room floor should slope approximately 1/8 inch per foot toward an emergency floor drain to help manage spills and routine cleaning. According to the cited preparation-room planning guidance. Confirm drain routing and discharge requirements with local plumbing authorities before construction.
Emergency equipment and protective practices
Place an eyewash station and other emergency equipment where staff can reach them quickly without passing through the hazard area. Keep access clear, post simple operating instructions, and establish inspection and flushing procedures. This preparation room safety stations guide can help with placement and planning.
Choose PPE through a documented hazard assessment. Depending on the task and product, that may include chemical-resistant gloves, protective clothing or an apron. Eye and face protection, and respiratory protection when required by the exposure assessment and respiratory-protection program. PPE supports engineering controls; it should not replace effective ventilation or safe handling procedures. Pair the station plan with clear cleaning and disinfection procedures for stronger preparation room hygiene.
- Design ventilation and local exhaust around the station and formaldehyde exposure risks.
- Verify exposure control against OSHA’s 0.75 ppm PEL and 2 ppm STEL.
- Install a readily accessible eyewash and emergency response station.
- Provide task-appropriate gloves, protective clothing, and eye or face protection.
- Slope the floor toward an emergency drain and confirm compliant discharge routing.
- Document inspections, training, spill response, and PPE replacement procedures.
How to Budget and Sequence Your Preparation Room Upgrade
A practical embalming station upgrade starts with safety and workflow, then adds comfort and flexibility as the budget allows. Treat the preparation room as a system rather than a collection of individual purchases. This approach helps you direct capital toward equipment that affects every case while leaving room for future improvements.
Costs can vary substantially based on construction, materials, features, and the number of work areas. In Vischer’s catalog, embalming tables range from $1,724 to $24,899. That range is a planning reference, not a complete project budget. Plumbing, electrical work, ventilation, lighting, flooring, installation, and disposal requirements may add significant costs. Request equipment specifications before finalizing a room plan, and confirm facility requirements with qualified contractors and local authorities.
Use a phased purchasing plan
A phased upgrade can improve working conditions without requiring every component to be replaced at once. Sequence the work according to risk, daily use, and the cost of revisiting an installation later.
- Phase one: protect the room and staff. Address ventilation, drainage, water supply, electrical capacity, lighting, eyewash access, and other safety-related infrastructure first. These elements are difficult to correct after large equipment is installed.
- Phase two: improve the primary work area. Purchase the table or station that best fits the room, case volume, and staff workflow. Prioritize durable, cleanable surfaces and enough clearance for staff to work comfortably on all sides.
- Phase three: reduce physical strain. Consider height-adjustable equipment, lift assistance, improved instrument storage, and positioning that limits unnecessary reaching, bending, and transfers.
- Phase four: add ancillary equipment. Complete the room with utility sinks, carts, shelving, dressing or combination tables, and other storage once the core station functions correctly.
Reserve capacity for the next upgrade
Future-proofing is usually less expensive during construction than after the room is finished. A minimum eight-foot ceiling may work for some layouts, but ten feet is preferred for improved air circulation and for a future overhead lift or other ceiling-mounted equipment. This planning point is especially important if staff may adopt lift systems later.
Also document pipe locations, electrical loads, equipment dimensions, door clearances, and service access before work begins. A written infrastructure plan helps prevent a new table, lift, or utility station from forcing an expensive renovation later. Once the priorities are clear, review the embalming stations available for your room and compare their specifications against the phased plan.
Ready to upgrade your embalming station? Contact our team today to review options with an equipment specialist.
Frequently Asked Questions
What happens during the embalming process?
Embalming is a preparation process intended to slow decomposition and support a dignified viewing. A trained professional typically disinfects and positions the body, replaces blood with preservative solution through the vascular system. Treats the body as needed, and completes restorative and dressing work. The exact sequence varies with condition, family wishes, and applicable professional standards.
What is essential for a professional embalming station setup?
Start with a stable, cleanable embalming table, reliable hot and cold water, controlled drainage, an appropriate sink or service station, instrument storage, and access to suction equipment. Leave enough clearance for staff to work safely on every side of the table. Stainless steel surfaces can also simplify cleaning and decontamination.
What equipment is needed in an embalming room?
Most preparation rooms need an embalming or combination table, water-control equipment, an aspirator, sink. Instrument trays, storage, disinfecting supplies, personal protective equipment, and an eyewash or other emergency safety station. Plan supporting equipment around the workflow from intake through preparation, dressing, transfer, and cooler storage.
What are the ventilation requirements for an embalming station?
Ventilation should be designed by a qualified professional to control airborne chemical exposure and comply with local building and workplace requirements. OSHA identifies a formaldehyde permissible exposure limit of 0.75 parts per million as an 8-hour time-weighted average and a 2 parts per million, 15-minute short-term exposure limit. See the applicable OSHA guidance before finalizing the room design: OSHA formaldehyde guidance.
How much clearance should be left around a preparation table?
A practical design guide recommends 36 inches of working clearance on all four sides of an embalming table. Treat that as a planning benchmark, then confirm equipment dimensions, door widths, accessibility, plumbing, electrical, and local code requirements with your architect or facilities professional.
Ready to Plan Your Embalming Station?
A thoughtful preparation room layout can support cleaner movement, safer work, and a more consistent experience for your staff. Review Vischer Funeral Supplies’ embalming stations to compare options for your facility. Contact Vischer Funeral Supplies to plan your embalming station and prep room layout.