
A family may remember the final presentation for years. For preparation-room professionals, selecting the right mortuary cosmetics is therefore more than a color-matching decision. The formula must suit the skin condition, support restorative work, and remain dependable under viewing-room light. This guide explains how to choose, apply, and organize professional cosmetics for consistent, dignified results.
Browse mortuary cosmetics from Vischer Funeral Supplies
What are mortuary cosmetics designed to do?
Mortuary cosmetics are professional formulas designed to restore natural-looking color, conceal discoloration, and finish restorative work on non-living tissue. Unlike consumer makeup, they must perform on cool, dry, or chemically treated skin while remaining stable throughout visitation. The right formula supports a calm, familiar presentation without obscuring natural features.
Mortuary cosmetics are not like the makeup found in a local store. These are special tools built for the needs of a funeral home. They must work on cold or damp skin. Unlike trade makeup, these mixes are made to last during long viewings.
Most of these products stay in place without cracking or smudging over time. The main goal is to give the body a natural and calm look for the family viewing. They also help hide signs of illness or age.
Restoring a natural look
The main job of mortuary cosmetics is to help the body look like it did in life. This work is more than just hiding marks. It is a key part of restoring a natural look to a body after death. Experts use these tools to rebuild the soft glow and feel of living skin.
This process requires a deep knowledge of how light hits the face. By adding many tones, an expert can make the skin seem more real. This helps families find peace when they say their last goodbyes. Using the right goods is vital for a good result.
Some experts prefer high-quality lines like Champion products for their prep room. These goods are made to blend well and stay stable. When a body has a lifelike look, it shows a high level of care for the person who passed.
Color fix and coverage
Death often brings changes to skin tone. These changes can come from the embalming process or from natural causes. Special mortuary cosmetics help fix these issues. Experts use cover creams and heavy foundations to hide bruising or deep marks.
They also use special dyes like Tantone to bring back a warm, healthy color. Color fix is about more than just skin tone. It also involves fixing red or pale spots. Experts often use a color wheel to find the right shade for each case.
Foundations used in this work are much thicker than normal makeup. They give full coverage with just a small amount of cream. This is helpful when dealing with dark spots or uneven skin tones. By using these items, a prep room expert can build a smooth base for more work later.
Supporting restorative art
Sometimes, a case needs more than just basic makeup. If there has been a trauma or an illness, the face might need deep work. This is where restorative prep room workflows come into play. Experts use waxes and putties to fill in gaps or rebuild features.
These goods act as a base for the final layers of cosmetic creams. Light cosmetic work deals with small marks and skin tone. Complex restoration involves building back parts of the body that were lost or hurt. This art needs a mix of tools and art skills.
Using items like restorative tissue restoration products helps fill out sunken spots. Once the shape is right, the cosmetics finish the job by adding life and color back to the face.
How to choose mortuary cosmetics by application need
Choosing the right mortuary cosmetics depends on the skin condition and the level of damage. Specialized formulas must stick to non-living skin without smudging or cracking. Your choice of liquid, cream, or wax will change based on whether you need light tinting or heavy coverage for trauma cases. Using high-quality Champion fluid products helps ensure the skin is set before you begin any cosmetic work.
Match coverage to skin condition
Liquid cosmetics work best for cases with good skin health where you only need to restore a natural glow. These thin tints allow the natural skin texture to show through while adding warmth. For cases with minor bruising or surface spots, cream foundations give a medium build. Creams are easier to blend across large areas and offer a soft, matte look that looks natural under chapel lights.
When you face deep color loss or skin slips, heavy camouflage creams are needed. These thick formulas mask dark spots that liquids cannot hide. You can layer these products to build the right look. Proper skin prep is key to making sure these heavy layers look smooth. This often needs a multidisciplinary approach to restore a body to its natural look after damage or decay.
Compare cosmetic types and uses
The table below shows how different cosmetic types work across common prep room needs. Use this to guide your choice based on the goals for each case.
| Product Type | Coverage Level | Best Use Case | Finish Type |
|---|---|---|---|
| Liquid Tint | Sheer | Minor jaundice or pale skin | Natural / Dewy |
| Cream Foundation | Medium | Small bruises and age spots | Matte / Satin |
| Camouflage Cream | Full / Opaque | Deep bruising or trauma | Heavy Matte |
| Restorative Wax | Structural | Feature repair and deep cuts | Skin-like |
| Dyes and Sprays | Variable | Large area color correction | Transparent |
Integrate restorative wax and powders
Restorative wax is a key tool for fixing deep wounds or making missing features. It acts as a base for surface repair before you apply any color. You must choose a wax that matches how firm the tissue is. Once you shape the wax, you can apply cream cosmetics right over it to blend the repair with the skin. This process is needed for restorative supplies and sealers that aim for a smooth look.
Finishing powders are the final step to set the look and remove extra shine. These powders stop the cosmetics from shifting during transport or viewing. You should use a light touch with a soft brush to apply the powder without moving the layers under it. For the best results, use products made to work together, such as those found in professional restorative sealing products kits. This ensures the colors stay true and the finish stays stable for the family viewing.
A practical color-selection workflow
A dependable color-selection workflow begins with neutral-light assessment, identifies the undertone and areas of discoloration, and tests a small blend before full application. Professionals can then adjust gradually and document the successful formula. This measured approach reduces overcorrection and makes repeatable results easier across the preparation-room team.
Professional restorative work depends on a steady, step-by-step approach. To get the best results with mortuary cosmetics, you must work with the skin rather than against it. A clear workflow helps you find the right tones and build them in a way that looks natural and lasts through the viewing.
Assessing skin and lighting
Before you pick up a brush, you need to see the body in neutral light. Standard room lights can make skin tones look yellow or blue. Checking the face and hands under white, balanced light ensures your color choice is accurate. This first look helps you find the base tone and any areas that need extra care. Using proper materials early in the process sets a strong foundation for the final presentation.
Once you see the true skin tone, you can identify areas of discoloration. These spots often come from natural changes or the embalming process itself. Finding these spots early allows you to plan your base layers and color corrections. This prep work is key to making sure the final look is smooth and even across all visible areas.
Building natural color layers
Good restorative art uses thin layers rather than one heavy coat. Putting on too much makeup at once can make the skin look flat or mask-like. Instead, build the color slowly to keep a life-like depth. This method allows you to adjust the tone as you go and ensures the sealers and restorative products stay clean. Professional mortuary cosmetics are designed to stick to non-living skin without cracking as you build these thin layers.
- Check under neutral light. Use balanced lighting to see the true skin tones before you start. This prevents color shifts when the body is moved to the chapel.
- Spot and treat discoloration. Find any dark or bruised spots and use specialized pigments to neutralize them. Treating these first keeps them from showing through your top layers.
- Set a thin base layer. Apply a light coat of foundation or camouflage cream to even out the skin. Always use thin layers to keep the skin’s natural texture visible.
- Add warmth and depth. Use lighter or darker tones to add shape back to the face. Focus on areas like the cheeks and brow to mimic a natural, resting appearance.
- Verify from a viewing distance. Step back several feet to check your work. What looks good up close may look different from the distance where a family will stand.
Checking your work from a distance is a vital final step. It helps you see if the colors blend well and if the shape of the face looks right. Small shifts in light can change how restorative art appears to a grieving family. Taking the time to verify your work ensures a dignified and peaceful final look for the deceased.
Prepare the surface and workstation before application
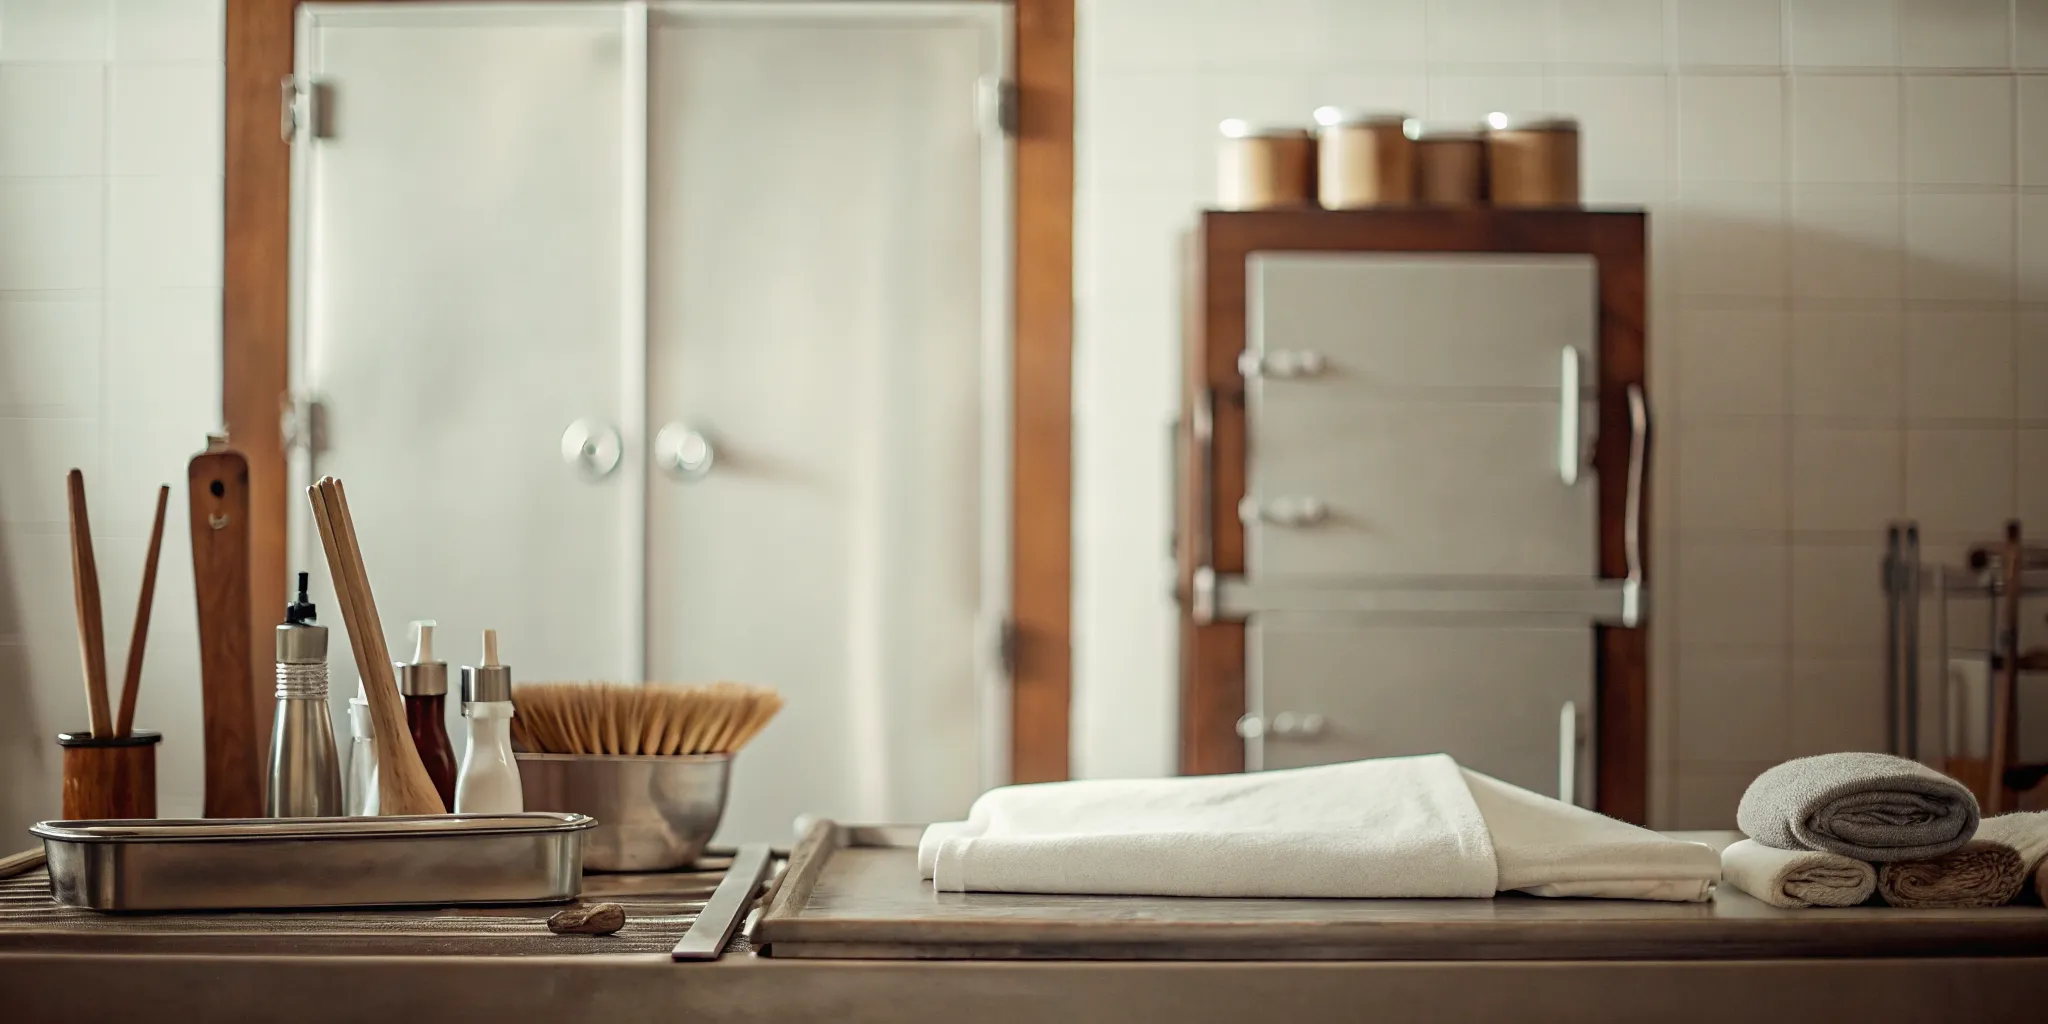
Good work in the prep room starts with a clean and set workspace. You need to have all your tools ready before you begin to apply any mortuary cosmetics. A smooth workflow saves time and helps you get the best result for the family. Preparing the body and the area well makes the rest of your job much easier.
Clean and dry the skin surface
You must clean the skin well before you put on any makeup. Oil and moisture can stop cosmetics from sticking to the surface. It is best to use a mild soap to remove any fluids or debris. After you wash the skin, you should dry it with a soft cloth to make sure the base is ready. This step helps the makeup stay in place and look natural for the viewing.
Careful readying of the skin is vital to make sure you get a natural look after tissue damage or other shifts. Research shows that preparing the skin surface is a key part of restorative art in mortuary science. Once the skin is clean and dry, you can check for any areas that need more work before you start with color. You may find more preparation supplies to help with this task on our site.
Build the structural base first
You should fix the shape of the face before you try to match the skin tone. Use waxes or fillers to rebuild any lost tissue or deep lines. This structural work creates the smooth surface you need for a good finish. If the base is not firm, the cosmetics may look cakey or uneven later. It is much better to take your time on the base than to try to hide flaws with thick makeup.
Tissue builders are great for restoring full shape to the cheeks or hands. Using a restorative tissue restoration product can help you fill in sunken areas with ease. Make sure all wounds are sealed and dry before you add any wax. A solid base will hold the color better and keep the skin looking soft and lifelike under the chapel lights.
Arrange your workspace for success
Good lighting is a must for any restorative work. You need a clear view to see how the color blends with the skin. Use a bright, cool light to see the true tones and find any small spots you missed. Set out all your brushes, sponges, and colors on a clean tray before you start. This keeps you from having to reach for things while you work. A tidy room helps you stay focused on the task at hand.
Keep a record of the products you use for each case. These notes help you track what works best for different skin types. It also makes it easy to repeat a good look if you need to do a touch-up later. A few key items to have on your tray include:
- Clean brushes and soft sponges for blending color.
- Restorative waxes and fillers to fix surface flaws.
- Tissue builders to add volume to sunken areas.
- A set of cosmetic tones for a natural match.
- Clean wipes to keep your tools and area clean.
Having a set routine for prep work shows your skill and care for the deceased. When you take the time to set up your workspace well, the final outcome will be much better. This care helps the family find peace during a hard time.
How do you build natural-looking coverage?
Build natural-looking coverage by correcting localized discoloration first, then applying thin layers from the center of the treatment area outward. Blend each layer before adding more, preserve visible skin texture, and evaluate the result under both preparation-room and viewing-room lighting. Heavy, uniform coverage is more likely to appear artificial.
Creating a natural look with mortuary cosmetics starts with a soft touch. You should avoid thick layers that look like a mask. Instead, use thin, light coats to build the color slowly. This helps the skin keep its natural feel and stops the makeup from cracking or sliding. Your main goal is to help the person look like themselves for the family viewing.
Use thin layers of cream
Most experts start with very little on the brush or sponge. You can always add more, but taking it off is a hard task. Focus on spots with discoloration first to even out the skin. Dab the edges of the color into the skin to blend them well. This keeps the fix in one place and keeps it from looking too thick. It is a key part of supplies for restorative work.
Thin layers also help the product set well on cool skin. Normal makeup often fails because it needs body heat to blend. Specialized mortuary cosmetics work well on cold skin without changing color. By building coverage slowly, you ensure the work looks soft and real. This avoids a heavy or fake look that can upset a grieving family.
Blend the edges carefully
The edges of the face and hands are where work is easy to spot. You must check the hair, the ears, and the wrists. Blend the cream into the hair or behind the ears to avoid a harsh line. On the hands, use a light touch to keep the natural lines of the skin. If the hands are too smooth, they will look fake to the family.
Ears often turn a different color than the face after death. You must match the ear tone to the cheek for a seamless look. Use a small brush to reach the folds of the ear. This detail helps create a unified look. It ensures that the eye does not catch a sharp change in skin tone at the side of the head.
Correct only the spots that need it for a real result. Do not cover the whole face if only one spot has a bruise. Use a color that hides the bruise and then blend it out. This keeps the rest of the skin looking natural. Restoring a natural look to the body needs this type of care to help the family find peace.
Check the viewing room lights
Prep room lights are often much brighter than chapel lights. A look that seems good under bright lights might look off in a dim room. Before you finish, check the work under soft, warm light. Shadows in a dim room can change how the face looks. You may need to adjust the color on the cheeks or the chin to match the room.
Check your work from a few feet away. Families do not stand right over the casket; they view from a short distance. If the look is clear from three feet away, you have done enough. Avoid adding more product just to feel busy. This final check helps provide a calm and kind memory for the family. It ensures your mortuary cosmetics provide a dignified final presentation.
Build a dependable preparation-room cosmetics kit
Shop preparation-room supplies from Vischer Funeral Supplies
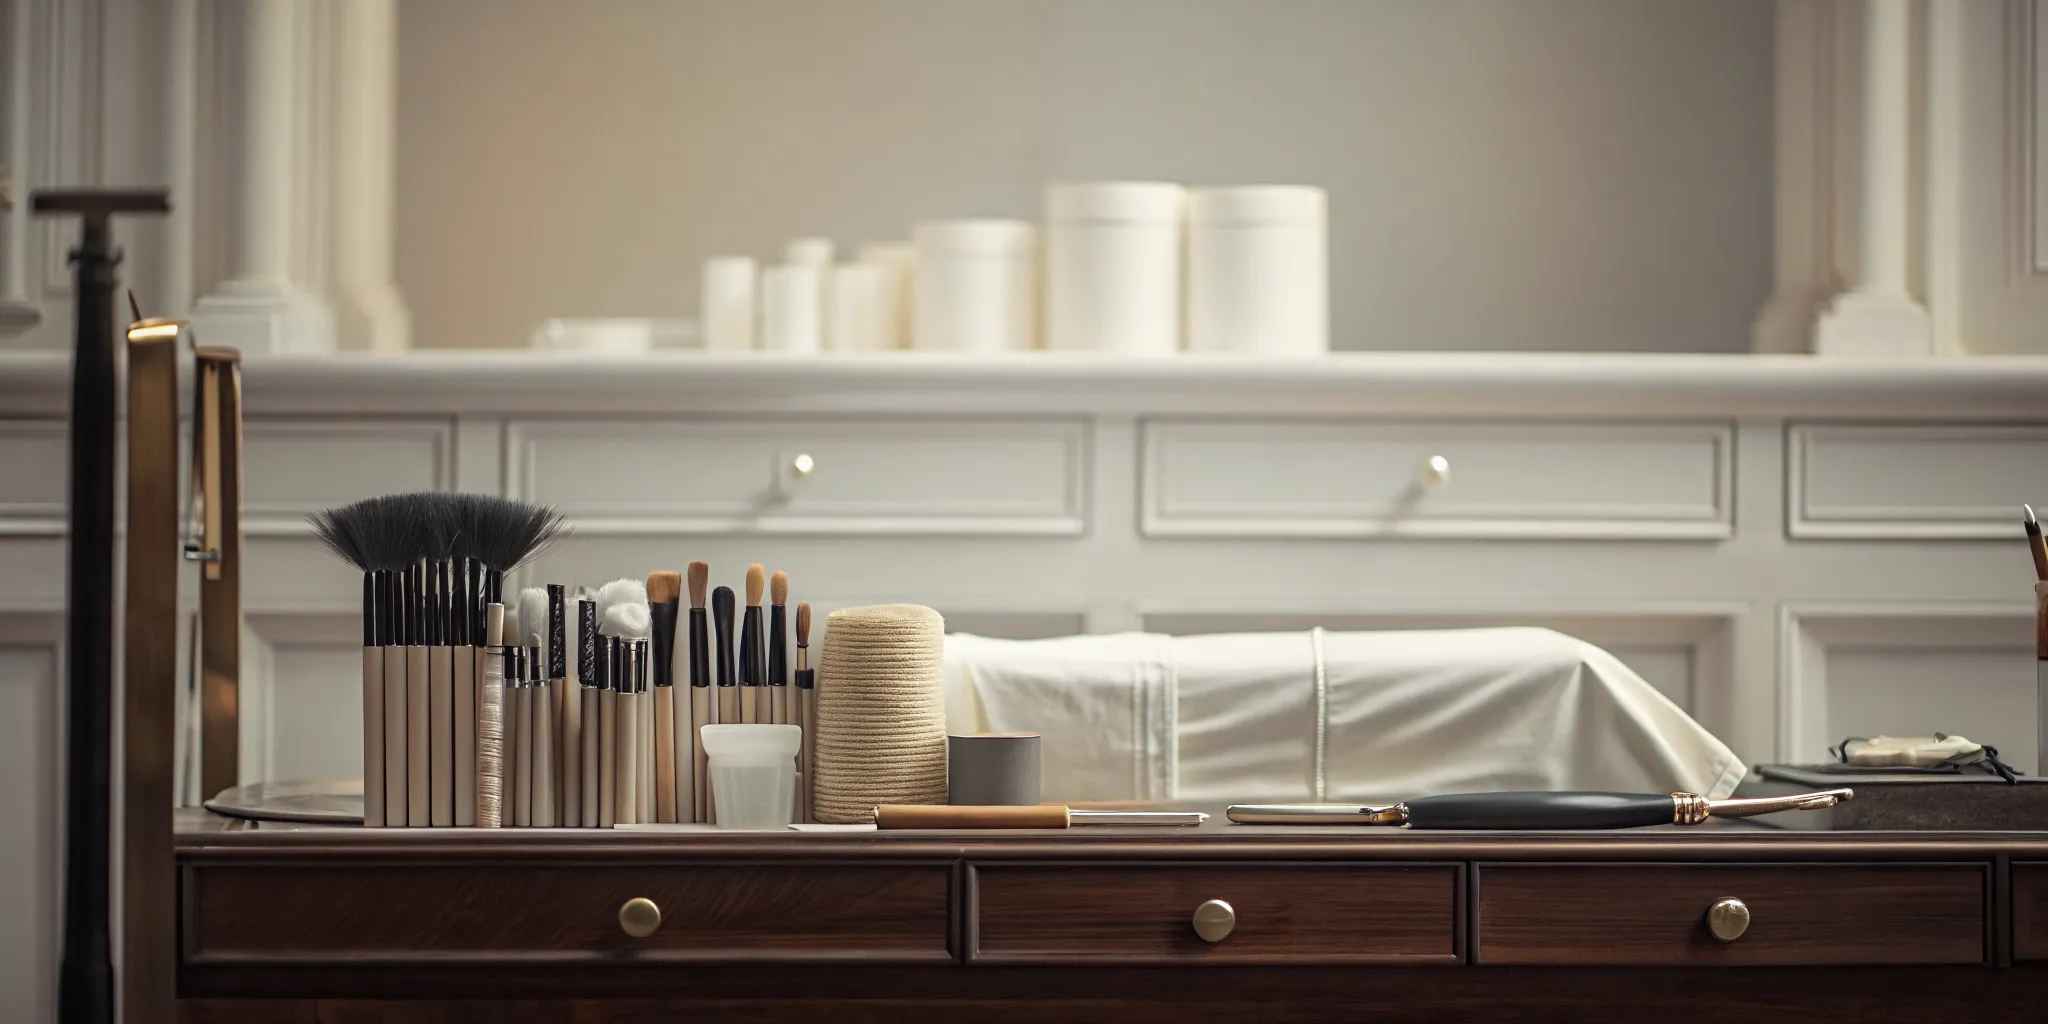
Setting up a solid kit helps your team work with speed and care. A good kit has everything you need for common cases. It also lets you stay flexible for unique needs. Most pros start with a core set of mortuary cosmetics and then add tools as needed. This way, you spend less time looking for gear and more time on the work that matters.
Core creams and tools
Your kit needs a range of shades and types. Good foundations and cover creams are the base of your work. These unique mixes stick to non-living skin without cracking or smudging. You should keep both light and dark tones on hand to match any skin type. You will also need dyes like Tantone or Coloro to fix small spots.
Key items for your kit include:
- Foundations and cover creams in several shades.
- Dyes and tints for fine tonal work.
- Brushes of all sizes for smooth blending.
- Tools like scalpels and forceps for small tasks.
Good tools make a big difference in the final look. Clean brushes are a must for a soft finish. Using the right tool for each task keeps the skin looking natural. You may also want to keep personal items if a family brings them in. This helps you add a personal touch to your work.
Restorative needs and storage
Some cases need more than just color. You may need to fix the shape of the face first. Things like restorative preparation essentials often use wax or putty. These materials build a base for the makeup. Using a full approach to restoration ensures a dignified look for the family. It helps to keep these items in a dry, cool spot so they stay fresh.
Store your items in clear bins or a rolling cart. This makes it easy to see what you have. Label each bin so the whole team knows where things go. Group items by how you use them. For example, keep all eye and lip colors in one tray. This saves time and keeps your prep room neat.
Keep your kit ready
A kit only works if it is full. Check your stock once a month to see what you need to buy. This stops you from running out of a key item during a busy week. You should also check for any items that are too old to use. Most waxes and creams last a long time, but they can dry out.
Clean your tools after every use to keep things safe. Use a good cleaner for your brushes and metal tools. This keeps your kit in top shape for the next case. A clean and full kit shows your care for your work. It helps you give the best service to the families who trust you.
Final presentation checks before viewing
High-quality mortuary cosmetics need a final check to ensure the best results for the family. The look of the deceased can change based on the light in the room. You should check the work under both bright prep-room lamps and the soft lights used in the viewing room. This step helps you find any spots where the foundation might look too thick or not smooth.
Check light and color
Light has a big impact on how colors look on the skin. Specialized Champion fluid products help create a good base, but the top layer of makeup needs a close review. You want to match the skin tone as closely as you can to the person’s natural look. If you have a photo from the family, use it to compare the final work to their past look. This helps you see if the tonal shifts you made with dyes like Tantone or Coloro are right.
A proper restorative art approach involves looking for any signs of cracking or smudging. Specialized formulas are built to stick to non-living skin, but you must still make sure the surface is smooth. Check the edges where the makeup meets the hair or clothes. These spots should be soft and blend well to avoid a harsh look. If the skin seems too dry or too shiny, you can make small changes to the finish before the viewing starts.
Peer review and records
It is often helpful to get a second set of eyes on your work. Ask a peer to do a quick review to find anything you might have missed during the long prep stage. This simple step can catch small flaws in the use of waxes or creams. Professional forensic equipment and tools like scalpels help with detail, but a human review ensures the total look is dignified and respectful.
Keep a record of the specific items and shades you used for each case. Tracking your work helps you build your skills over time and ensures you can repeat good results. Note any unique tasks you faced, such as bad bruising or skin damage. This data is useful for future training and helps keep a high standard of care for every family you serve.
Frequently Asked Questions
Why use specialized mortuary cosmetics instead of standard makeup?
Mortuary cosmetics have a unique way of working on skin without blood flow. Regular makeup often cracks or smudges on cold tissue since it needs body heat to set. Specialized creams and foundations stick better to non-living skin to create a natural look. According to Vischer Funeral Supplies, these tools help experts get a high level of quality. They ensure the deceased looks calm for the family viewing.
How do you correct discoloration in mortuary work?
Correcting skin color needs the use of thick masking creams and special dyes. These tools help hide marks that happen after death. Pros often use certain dyes like Tantone or Coloro to get the right skin tone. Research on PubMed shows that careful skin work is key to a natural look after damage. Using the right tools allows the expert to build a base that looks real under bright lights.
How are restorative waxes used with mortuary cosmetics?
Restorative waxes help fix facial parts that have been lost or hurt. The expert puts the wax on to create a smooth surface before adding any color. This material works as a base for makeup and helps to hold the look in place. High-quality preparation supplies are needed for this type of deep work. Once the wax is shaped, foundations are mixed over the top to match the skin for a smooth finish.
Can families provide personal makeup for the deceased?
Yes, families can often bring in personal makeup for their loved one. Funeral staff may use these items to make sure the final look matches the person’s style in life. But professional products are still needed as a base to handle the unique needs of the body. According to Vischer Funeral Supplies, mixing pro results with personal items is key. The expert uses the family’s items over special primers to get a natural look for the viewing.
Ready to browse mortuary cosmetics and preparation-room supplies?
Preparation-room teams need dependable products for routine cosmetics and more involved restorative cases. Vischer Funeral Supplies offers mortuary cosmetics, waxes, sealers, fluids, and related supplies for professional use.
Call Vischer Funeral Supplies at 800-752-8767 to discuss your preparation-room supply needs.