
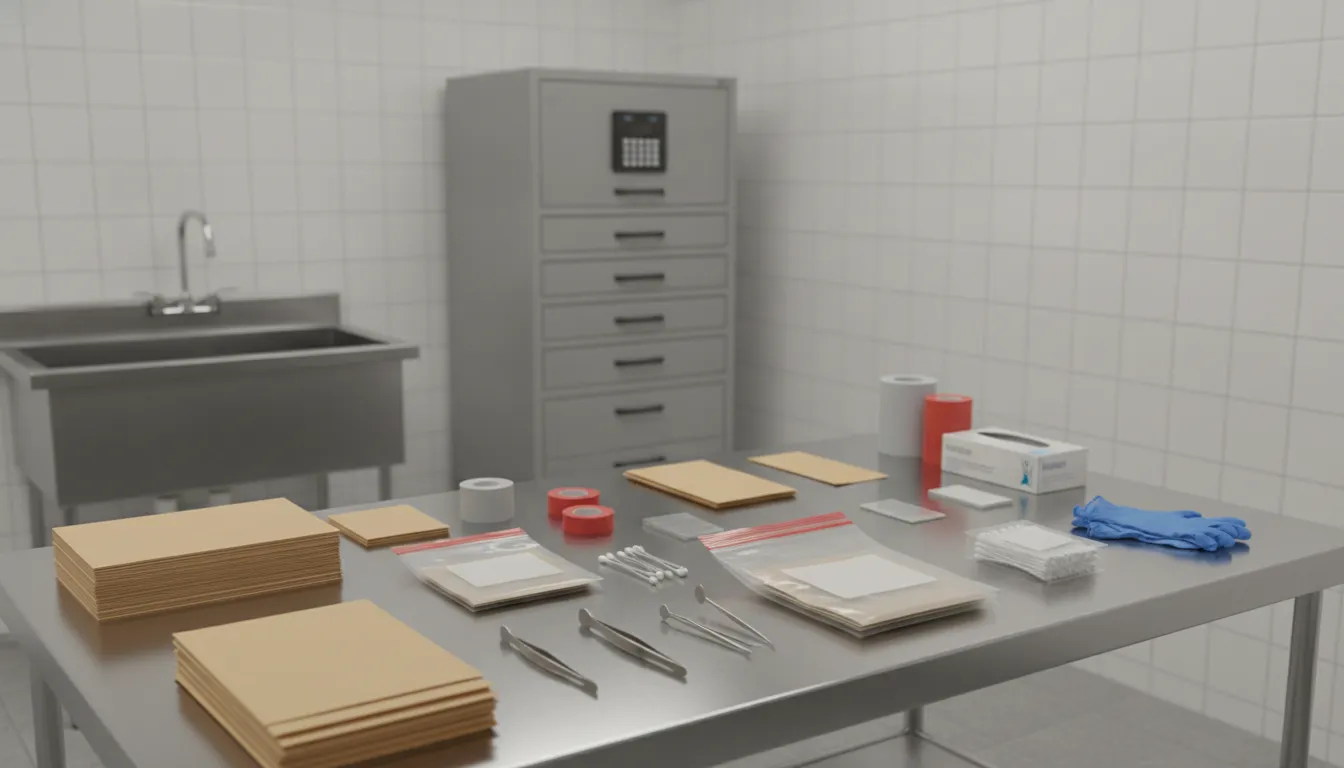
In a forensic facility, preservation begins before an item reaches storage. The materials selected for collection, packaging, labeling, and controlled access should support a consistent process without replacing the protocols set by the investigating agency, laboratory, or jurisdiction.
Review your facility supply needs with Vischer
Evidence preservation supplies are the packaging, labels, sealing materials, protective equipment, storage aids, and documentation tools used to help protect evidence from loss, contamination, cross-transfer, and deterioration. California Highway Patrol guidance identifies preservation as a primary investigative concern and emphasizes planning, access restriction, and methods suited to different item types: review the guidance.
That scope is broader than choosing a container from a catalog. It connects each supply decision to the evidence involved, the people handling it. The records that accompany it, and the conditions under which it will be stored or transferred. Start by separating preservation supplies from general facility equipment, then evaluate the categories that support an accountable workflow.
What Are Evidence Preservation Supplies?
Evidence preservation supplies are the packaging, labeling, access-control, documentation, and storage materials used to protect an item after it is identified and collected. Their purpose is not simply to hold an object. The broader goal is to help maintain its condition, identify it accurately, and support controlled handling through examination and any later presentation.
That focus matters because preservation begins with planning, not just with a container. California Highway Patrol guidance identifies evidence preservation as a primary investigative concern and notes that careful planning and restricting access can help preserve a scene: CHP evidence-handling guidance. In practice, a facility may therefore need supplies that support separation, clear identification. Secure sealing, and appropriate storage, while following the requirements of the responsible agency, laboratory, and jurisdiction.
These supplies are different from the full range of equipment in a forensic facility equipment checklist. A broad checklist may cover removal, examination, personal protective equipment, facility operations, and other tools. An evidence preservation plan is narrower: it asks what is needed to document, package. Label, secure, track, and store specific evidence types without introducing avoidable loss, contamination, or confusion.
The distinction is practical for purchasing teams. Before selecting products, define the evidence types handled, the points where items change custody, the storage conditions required by the receiving authority, and the records staff must maintain. Proper collection and preservation should maintain evidence integrity from collection through possible forensic examination and courtroom presentation, as described in the NIST draft standard. Supplies support that workflow, but they do not replace agency procedures or professional judgment.
Which Supply Categories Support Evidence Integrity?
Evidence preservation supplies support a controlled process, but no product can replace trained handling, documented procedures, or the requirements of the examining laboratory and jurisdiction. Choose categories by the point they support: recording what was observed, protecting the item and staff, identifying the package, maintaining appropriate storage, and transferring responsibility without losing context.
| Category | What it supports | Selection questions |
|---|---|---|
| Documentation | Notes, sketches, photographs, and video create a record before and during collection. Documentation can help an investigator reconstruct the scene later. California Highway Patrol guidance recommends considering associated evidence that collection could destroy. | Can staff record the scene clearly, consistently, and before disturbing relevant items? |
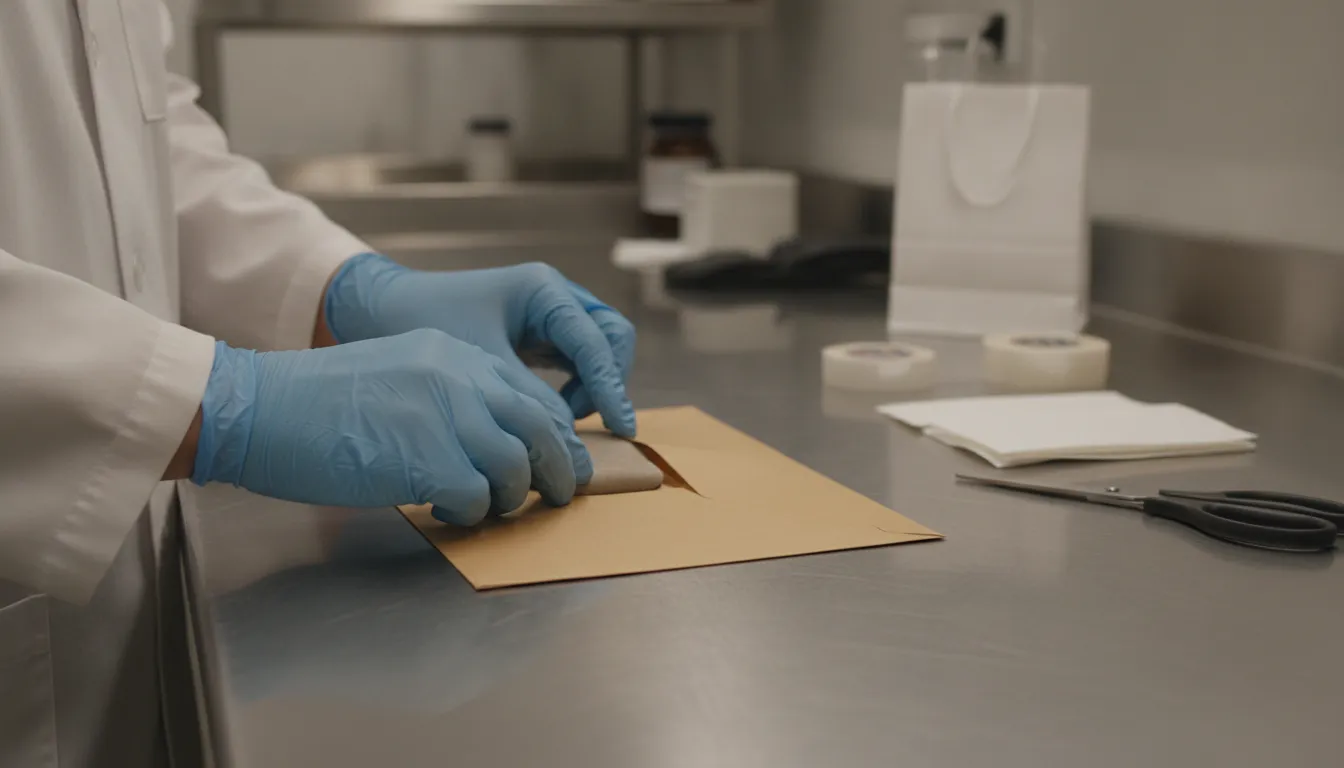
| Packaging and containers | Packaging should protect personnel from hazards and evidence from loss, contamination, and cross-transfer. Internal packaging may include bindles, boxes, coin envelopes, hold-down devices, or sharps containers. See the California DOJ evidence collection guide. | Does the material and size fit the evidence type, condition, and required handling? |
| Labels and seals | Identification and tamper-evident closure make the package easier to process and review. Local or laboratory rules may specify identifiers, seal methods, and marking materials. | Is there room for required identifiers and any laboratory barcode without obscuring the package? |
| PPE | Gloves, gowns, protective clothing, and related supplies support staff safety and help reduce avoidable transfer during handling. PPE selection should follow the hazard assessment and facility procedure. | What hazards are present, and what change-out and disposal practices apply? |
| Storage | Storage planning must account for packaging, biological-evidence safety, retention, and tracking. The NIST biological evidence handbook addresses packaging and storing biological evidence as well as evidence tracking and disposition. | Can the facility restrict access, maintain required conditions, and locate the item through its review or disposition? |
| Transport boundaries | Transport supplies should preserve containment and identification while responsibility moves between authorized people or facilities. Confirm the receiving entity’s packaging and submission requirements before transfer. | Who accepts the item, what records travel with it, and which laboratory or jurisdictional rules control? |
These categories overlap. For example, a container may need internal packaging, room for a label, a visible seal, and a storage plan. Facilities can review Vischer forensic equipment and supplies as a catalog starting point, then confirm each product’s role against their written protocol.
How Should Facilities Match Packaging to Evidence Type?
Match the container to the evidence’s condition, material, size, and laboratory destination. Packaging choices should reduce loss, contamination, cross-transfer, and exposure, but the agency or laboratory protocol always controls the final method. Confirm requirements with the examining entity before standardizing supplies.
Start by asking whether the item is wet, dry, fragile, hazardous, or likely to shed small particles. Wet biological samples and fresh plant material may need to dry before packaging. The California Department of Justice notes that paper containers may allow a sample that is not completely dry to finish drying and may help prevent deterioration. Do not seal wet material in a way that traps moisture unless your governing protocol specifically requires it. Read the evidence collection guidance alongside your laboratory’s instructions.
Material selection should follow the evidence type rather than a one-size-fits-all purchasing habit. Paper may be appropriate for biological samples when the protocol calls for continued drying. Plastic containers may be optimal for some controlled substances. Those are qualified examples, not universal rules. The agency, laboratory, and jurisdiction determine whether a different container, barrier, or handling method is required.
Size matters as much as material. A container that is too small may fail over time. One that is too large can allow trace evidence or powder to disperse, making recovery more difficult. For each item, choose a clean, unused container with enough room for the evidence, any required internal packaging, and later laboratory handling. Internal options can include bindles, boxes, coin envelopes, hold-down devices, syringe tubes, or sharps containers, depending on the item and protocol.
Small fragments deserve particular care. Poorly sealed envelopes can allow glass fragments to escape, so inspect the closure and use the approved sealing method before transfer. Packaging should also leave room for required identifiers or laboratory labels, without covering the seal or obscuring the contents description.
Discuss your facility’s supply needs with Vischer
For facility planning, Vischer’s forensic equipment and supplies category includes products for forensic and preparation-room operations. Product selection still needs to be checked against your own workflow, receiving laboratory, and written agency requirements.
What Should Labels, Seals, and Tracking Records Include?
Labels, seals, and tracking records should make each item identifiable, show whether its package has been disturbed, and preserve a clear record of handling. The exact fields and procedures depend on the submitting agency, laboratory, and jurisdiction, so treat published guidance as a planning reference rather than one universal legal standard.
Indiana State Police guidance places responsibility for proper packaging, sealing, and labeling on the submitting agency. Its examples provide a useful framework for reviewing forensic facility equipment checklist needs without assuming every facility follows identical rules.
Label each item for quick identification
Use a clean, readable label that connects the package to the agency and case record. A practical checklist includes:
- Agency name, case number, and a unique item number. The cited Indiana guidance says each item in a case should have a unique identifier.
- A concise description of the contents and any processing or storage information required by the receiving laboratory or examining entity.
- Space for the laboratory barcode label. Packaging should be large enough for the barcode to be fully affixed and for the container to be opened, repackaged, and resealed after analysis.
- Relevant hazard information, when applicable, so handlers can recognize risks before opening or moving the package.
These fields are supported by California and Indiana evidence-packaging guidance: California guidance identifies evidence description, processing, hazards, and storage conditions, while the Indiana bulletin addresses agency, case, item, and barcode identifiers.
Make seal integrity visible
Close each package using a method appropriate to its material and the receiving laboratory’s protocol. Examples in the Indiana bulletin include evidence tape, reinforced or Mylar packaging tape, and heat seals for plastic packaging. The seal should be applied so that opening the container leaves obvious signs of tampering, with initials or a signature crossing the seal and package. Avoid ballpoint or gel pens on plastic packaging because they can puncture it.
Track movement and disposition
Records should connect the unique item identifier to each authorized transfer, storage event, examination, resealing, and final disposition required by local procedure. NIST specifically addresses tracking biological evidence chain of custody and evidence-tracking system capabilities. Use those references with local regulations and the requirements of the examining entity, not as a substitute for them.
Review the Indiana State Police packaging and submission guidance alongside your agency’s forms and laboratory instructions before standardizing labels or seals.
How Can a Facility Build a Repeatable Preservation Workflow?
A repeatable workflow turns evidence preservation supplies into part of a controlled process rather than a collection of items on a shelf. The process should fit the facility’s case types, laboratory requirements, local protocols, and assigned authority. NIST guidance should be used with local regulations and the requirements of entities examining collected evidence: NIST preservation guidance.
- Plan the workflow. Identify the evidence types your facility commonly receives, the people responsible for collection and transfer, and the supplies needed at each handoff. Include safety considerations in the plan. The appropriate agency remains responsible for developing a full health and safety plan, so a product list should support that plan rather than replace it. See the NIST safety and preservation standard.
- Document before and during collection. Use the facility’s approved notes, sketches, photographs, and video process. Depending on the case and area, photographs may be appropriate before collection, and documentation should continue throughout collection. This record can help investigators reconstruct the scene later. The California Highway Patrol guidance supports this approach.
- Collect and package deliberately. Before removing an item, consider associated evidence that the collection process could destroy. Select packaging and protective supplies according to the evidence, hazard, and receiving laboratory’s instructions. Supplies can support safer handling, but they do not by themselves establish an approved protocol.
- Label and seal each package. Use the identifiers, descriptions, hazard information, and seal process required by your agency. Confirm that the package is closed, marked, and ready for the next authorized handoff before it leaves the work area.
- Store or transfer under defined controls. Route each package to the designated storage location or receiving entity. Record the transfer using the facility’s approved tracking process, and follow any temperature, access, retention, or laboratory requirements that apply to the evidence.
- Review and improve. After a case or intake cycle, check whether documentation was complete, packaging was suitable. Labels were readable, seals remained intact, and staff had the right supplies at each step. Update the workflow when local authorities, laboratories, or facility procedures change.
Ask Vischer about a facility-ready supply plan
How Do Storage and Safety Planning Affect Supply Choices?
Storage and safety planning determine more than where supplies sit on a shelf. They shape how evidence is packaged, tracked, accessed, retained, and ultimately transferred for examination or disposition.
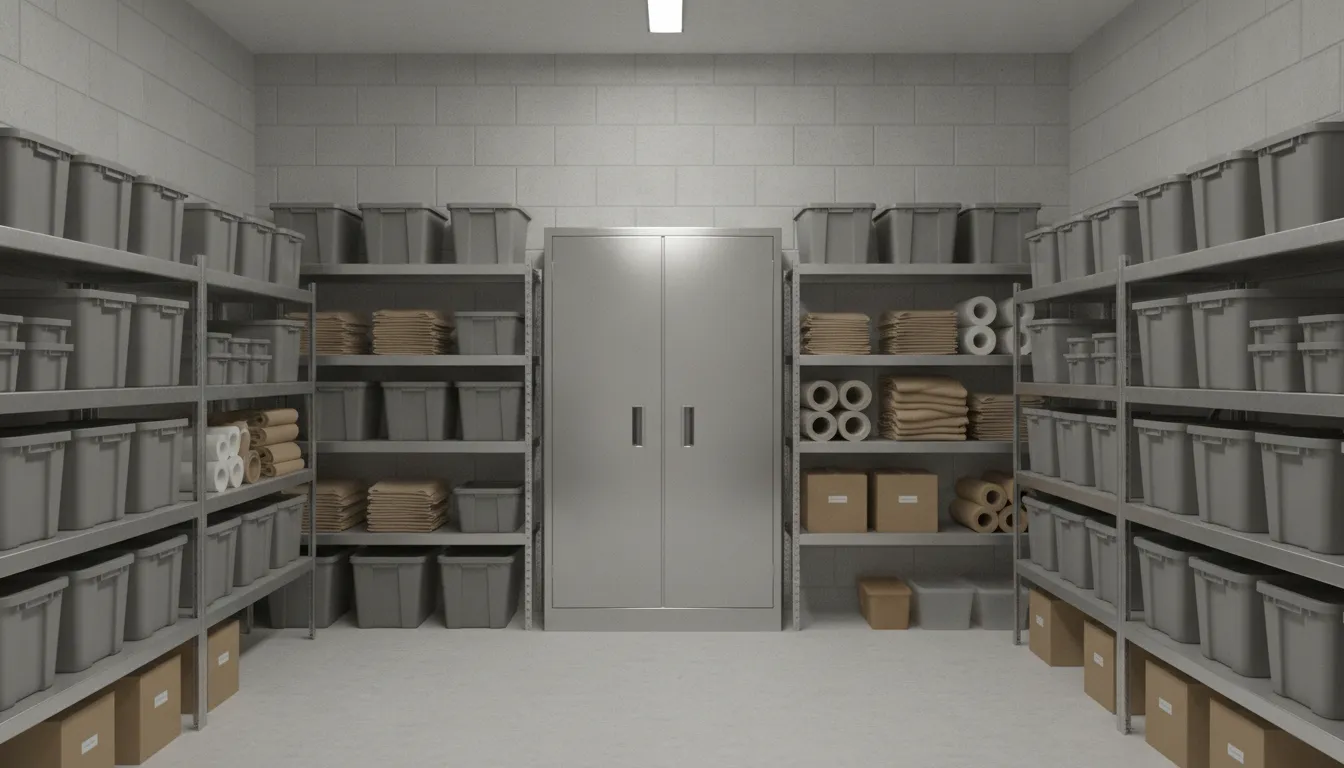
For biological evidence, the NIST handbook addresses retention, safety and handling, packaging and storage, disposition, and evidence-tracking systems. Those topics point to a broader purchasing principle: choose supplies and storage processes together, rather than treating bags, labels, cabinets, and records as separate decisions. Review the NIST biological evidence handbook for planning guidance, then align the workflow with your facility’s actual requirements.
Plan storage around access, condition, and disposition
Start by identifying who may access each evidence category, what condition it must remain in, and how the facility will document movement or final disposition. A storage plan should account for secure access, separation of incompatible materials, required handling precautions, and enough space for packaging that is appropriately sized. The NIST material also identifies evidence tracking and management system capabilities to consider when acquiring a new system. Which can help purchasing teams evaluate supplies alongside the records they support.
These choices should be reflected in the inventory: reserve locations for incoming items. Establish a process for restricted or hazardous material, and avoid stocking only one package size when the evidence mix varies. Supplies are useful only when staff can locate the correct option and apply it consistently.
Match safety supplies to the facility’s risk assessment
Safety planning should address hazards associated with collection, packaging, storage, transfer, and examination. The NIST draft standard states that its safety guidance is not exhaustive and that the appropriate agency is responsible for developing a full health and safety plan. It also says the guidance should be used with local regulations and the requirements of entities examining collected evidence. In practice, local agency protocols, laboratory instructions, and examining-entity requirements control.
For a broader review of handling aids, protective equipment, and task-based controls, use Vischer’s morgue safety equipment planning resource. Treat it as a planning aid, not a substitute for your agency’s formal risk assessment, training, or written safety procedures.
Evidence Preservation Supplies Purchasing Checklist
A practical purchasing checklist should connect each supply to the evidence type, handling step, labeling process, and storage plan it supports. Build the inventory around your agency’s procedures and receiving laboratory requirements, rather than treating any product as a substitute for an approved protocol.
Before placing an order, review these points with the people who collect, package, submit, and store evidence:
- Start with clean, unused containers. Indiana State Police guidance calls for a separate clean, unused container for each item. Select a container that is large enough for the item, not merely the smallest option that closes. The guidance also notes that the package should allow room for opening, repackaging, and resealing after analysis.
- Reserve label space. Check that the package can accommodate the required laboratory barcode label without covering essential information or interfering with the closure. Plan for the agency name, case number, item number, and initials across the seal, as applicable to your process.
- Plan the seal before you buy. Confirm whether your workflow uses evidence tape, reinforced packaging tape, or another approved closure. Each container should be sealed so opening it leaves obvious signs of tampering. Avoid writing tools that could puncture plastic evidence packaging.
- Separate preservation needs from general equipment. Vischer’s Vischer forensic equipment and supplies category can serve as a starting point for reviewing facility-related options. For hand or foot coverage, hand and foot evidence preservation bags are a catalog option described for covering hands or feet; confirm suitability with the responsible investigative authority.
- Make storage part of the purchase. Consider where unopened supplies and packaged items will remain separated, identifiable, and accessible to authorized staff. A MOBI storage and supply cabinet is one catalog storage example. Verify its fit and use against your facility’s workflow rather than assuming a product alone establishes a secure system.
Finally, record the selected container types, seal materials, label fields, reorder points, and approval owner in the purchasing file. Local rules and laboratory instructions control where they differ from a general checklist.
Frequently Asked Questions
How do facilities choose the right evidence packaging?
Match the package to the evidence, its condition, the hazard it may present, and the facility’s handling protocol. Wet biological samples may need drying before packaging, while paper packaging can allow a sample that is not completely dry to finish drying. Size matters too: packaging that is too small may fail, while oversized packaging can make trace evidence harder to recover. California DOJ guidance describes these considerations.
What should be documented before evidence is collected?
Document the scene and relevant items with notes, sketches, photographs, and video before collection when the circumstances call for it. Continue documentation during collection, and consider associated evidence that could be disturbed or destroyed by the process. The California Highway Patrol identifies these steps as part of a thorough collection workflow.
Why are labels and seals important in evidence handling?
Labels help identify what a package contains, what processing or storage conditions may be needed, and whether hazards require attention. A secure seal helps keep the package closed during handling. Your agency’s procedures should define the required identifiers, sealing method, and records for each item.
Can one supply kit work for every type of evidence?
Usually not. A practical inventory may need outer packaging, internal containers, labels, seals, protective equipment, and storage supplies, but the combination depends on the evidence type and workflow. Bindles, boxes, coin envelopes, hold-down devices, and sharps containers are examples of internal packaging identified in California DOJ guidance.
Who determines the facility’s evidence preservation procedures?
The submitting agency, laboratory requirements, examining authority, and applicable jurisdictional procedures control the workflow. Supplies support those procedures but do not establish compliance or guarantee evidence integrity on their own. Confirm selection, storage, transfer, and disposition requirements with the responsible authority before standardizing an inventory.
Ready to Plan Your Evidence Preservation Supplies?
A well-organized supply plan can help your facility align packaging, labeling, storage, and safety needs with its established procedures. Review your evidence types, workflow, and local requirements before selecting or replenishing supplies. To review options or discuss a facility-ready supply plan, contact the Vischer team.